{PIN IT}
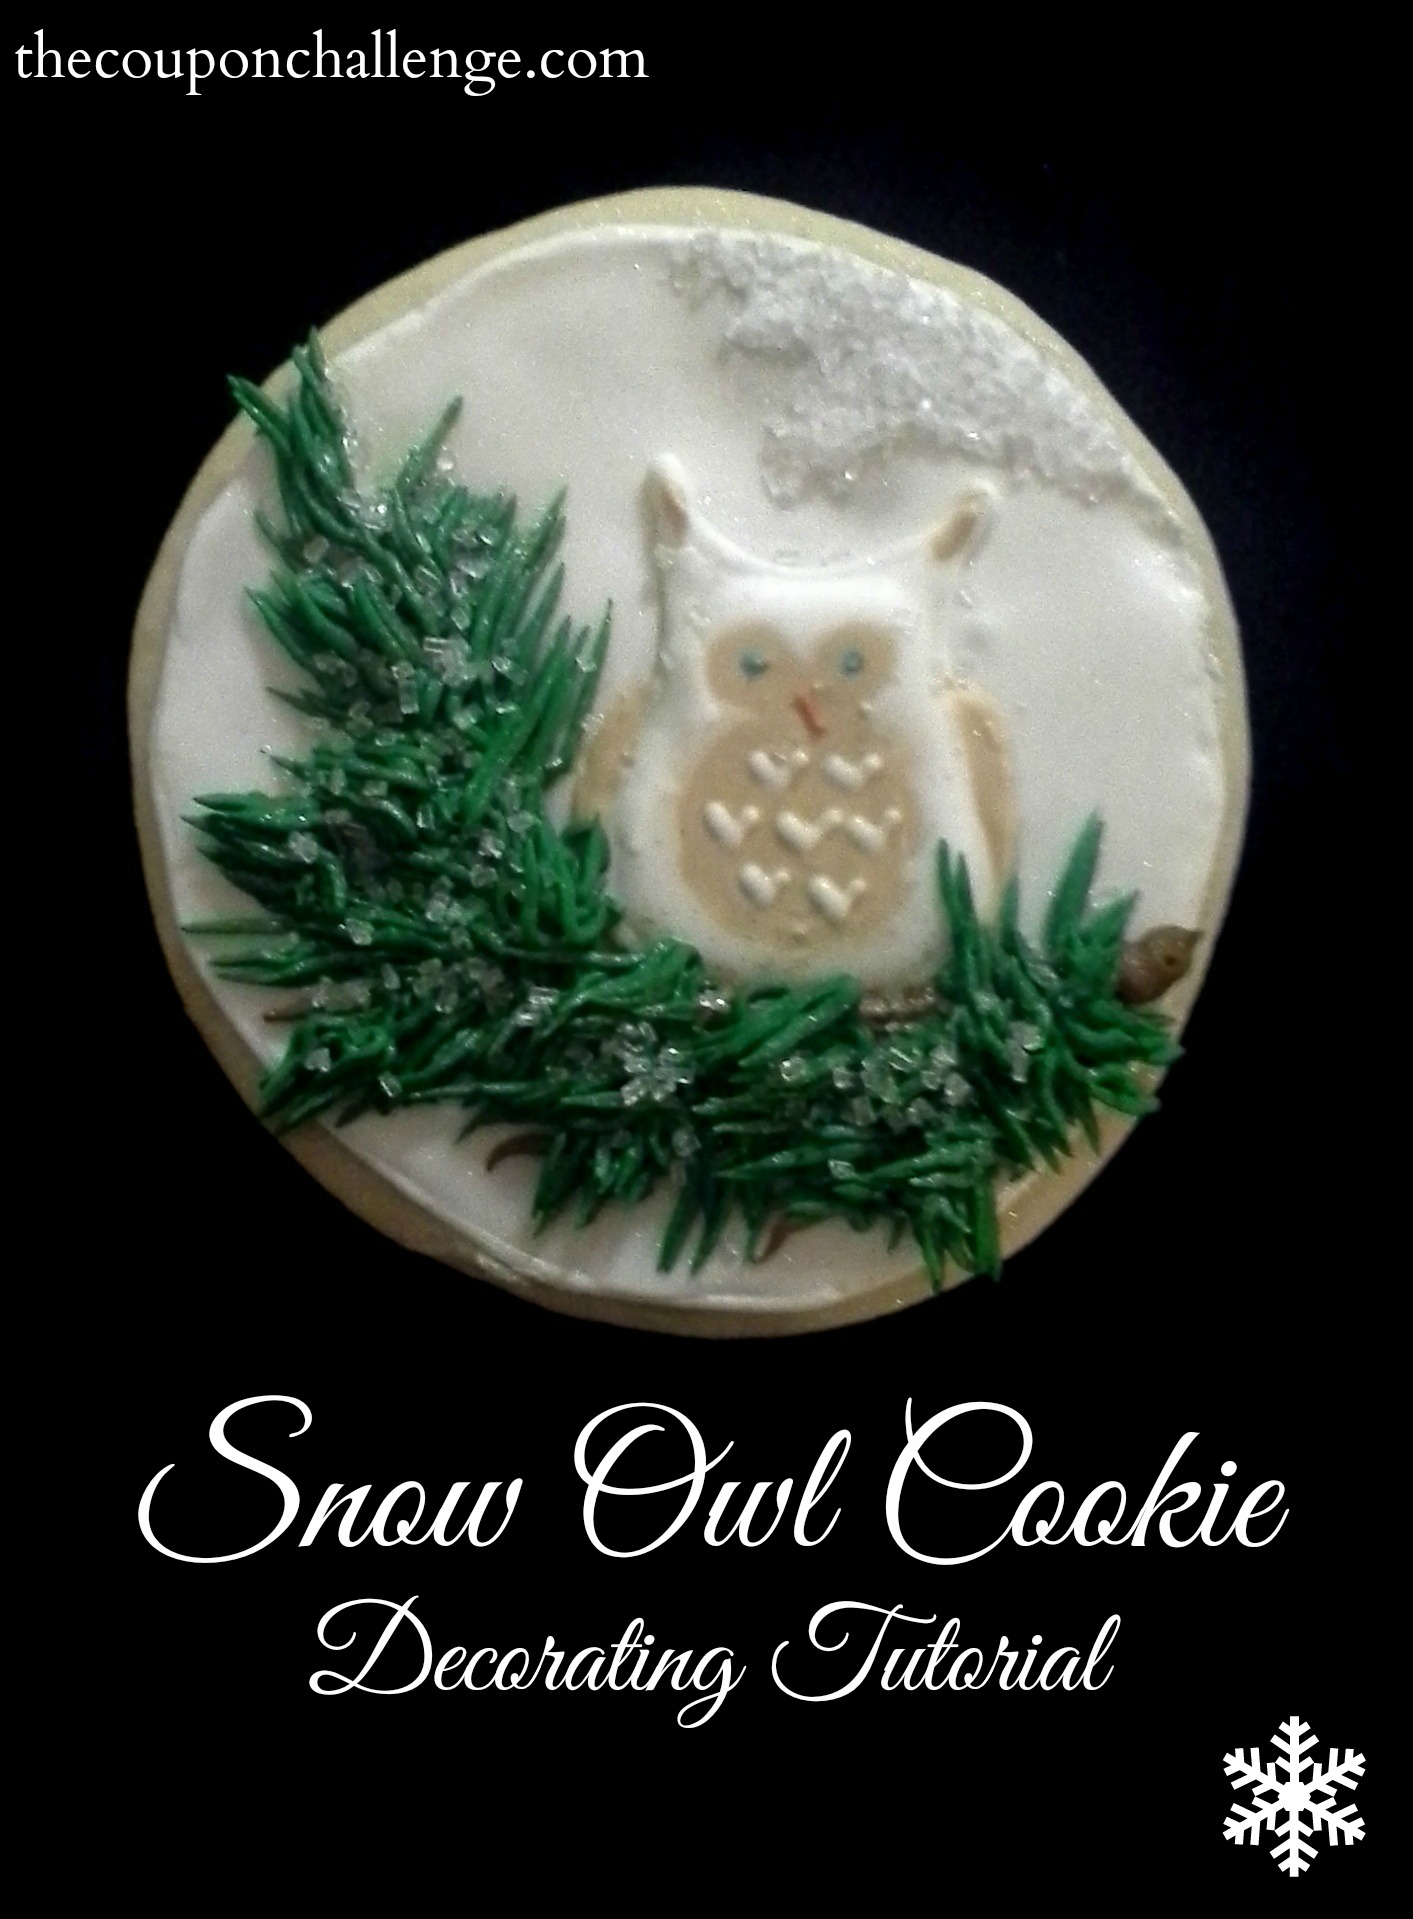
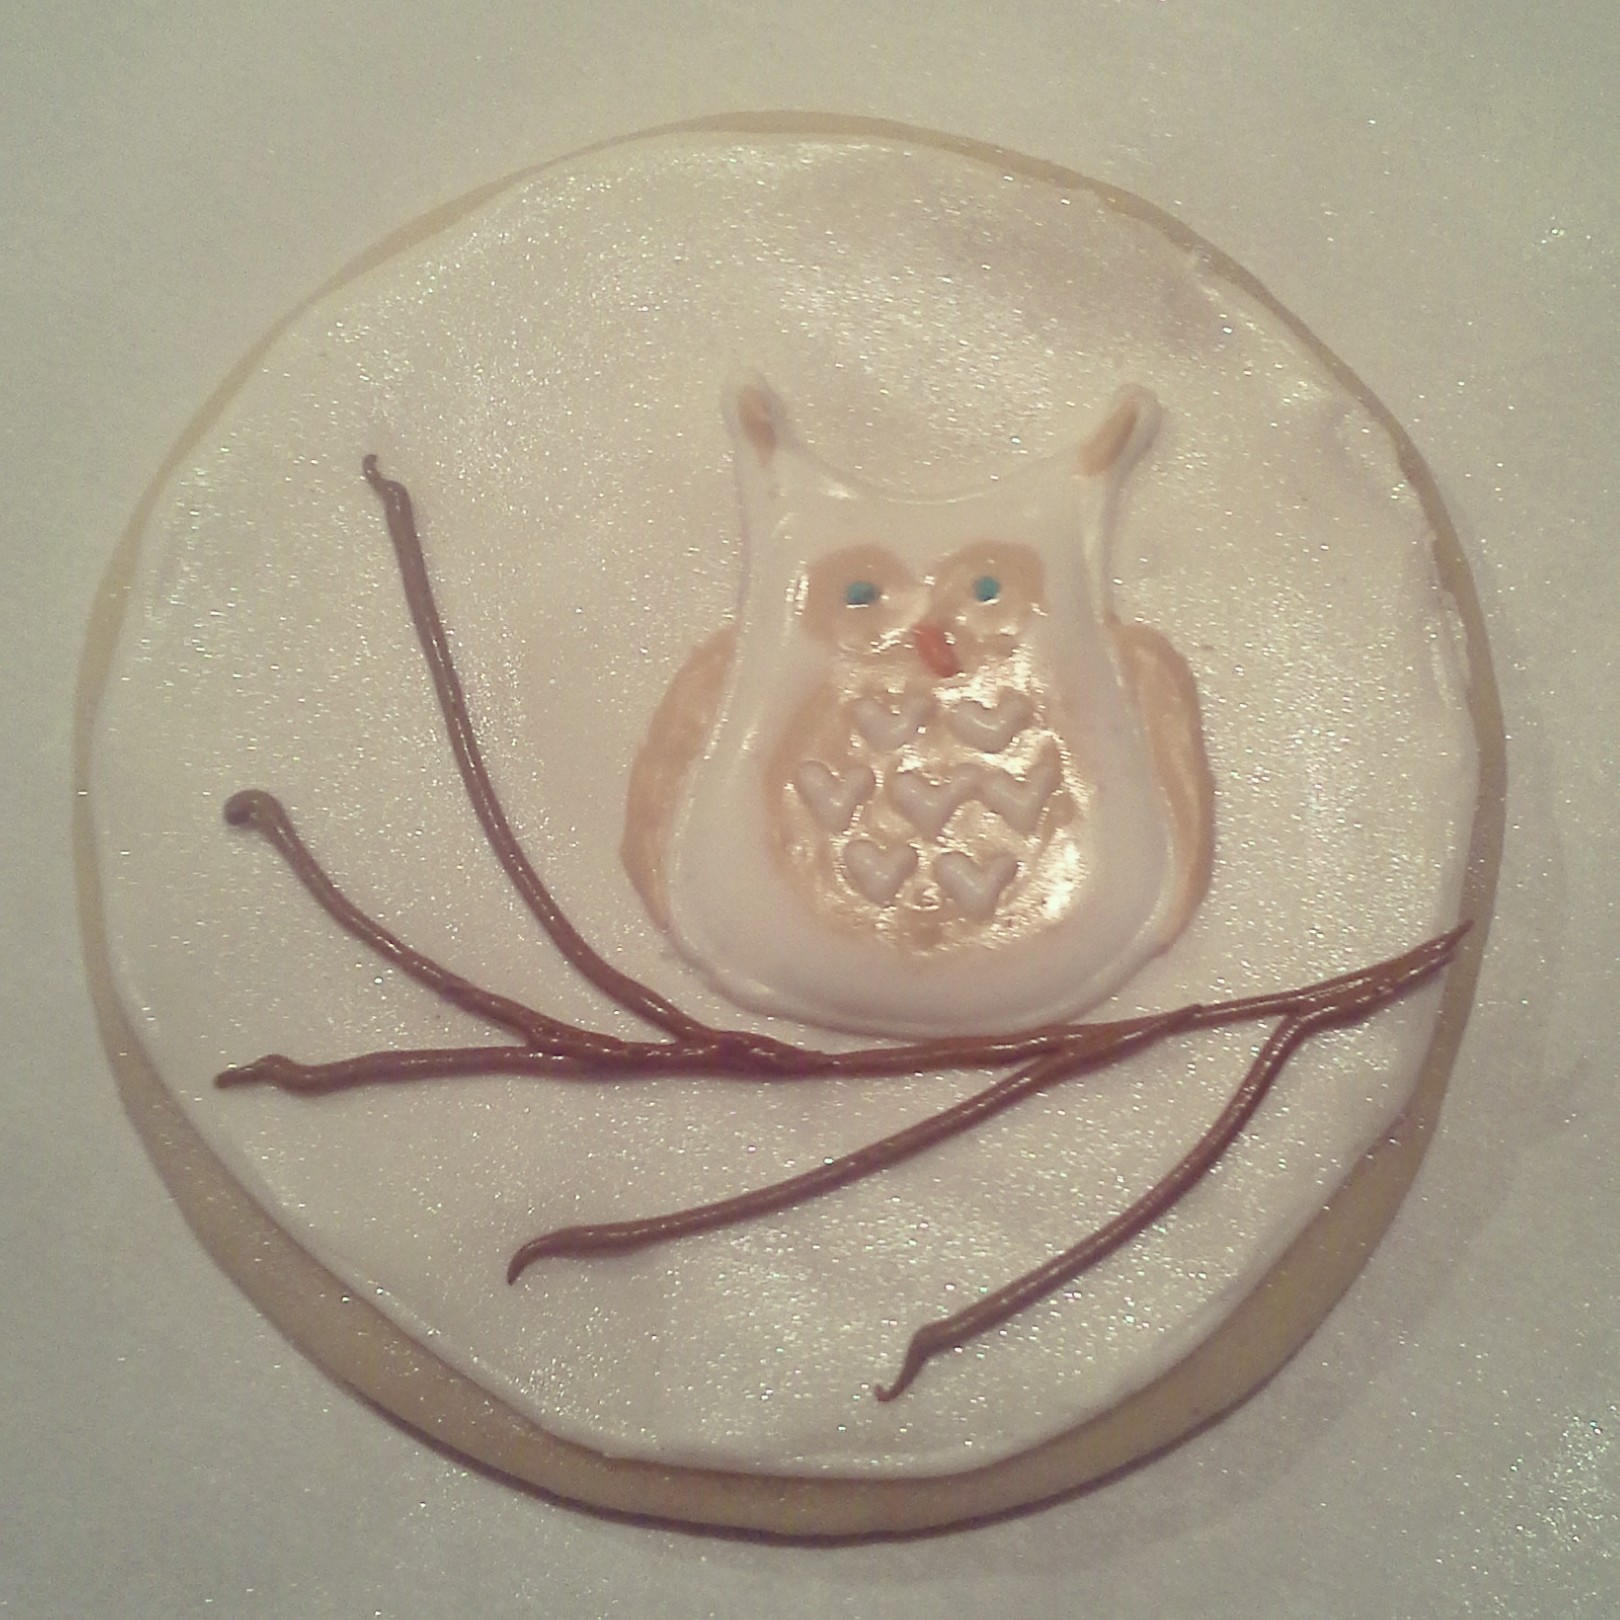
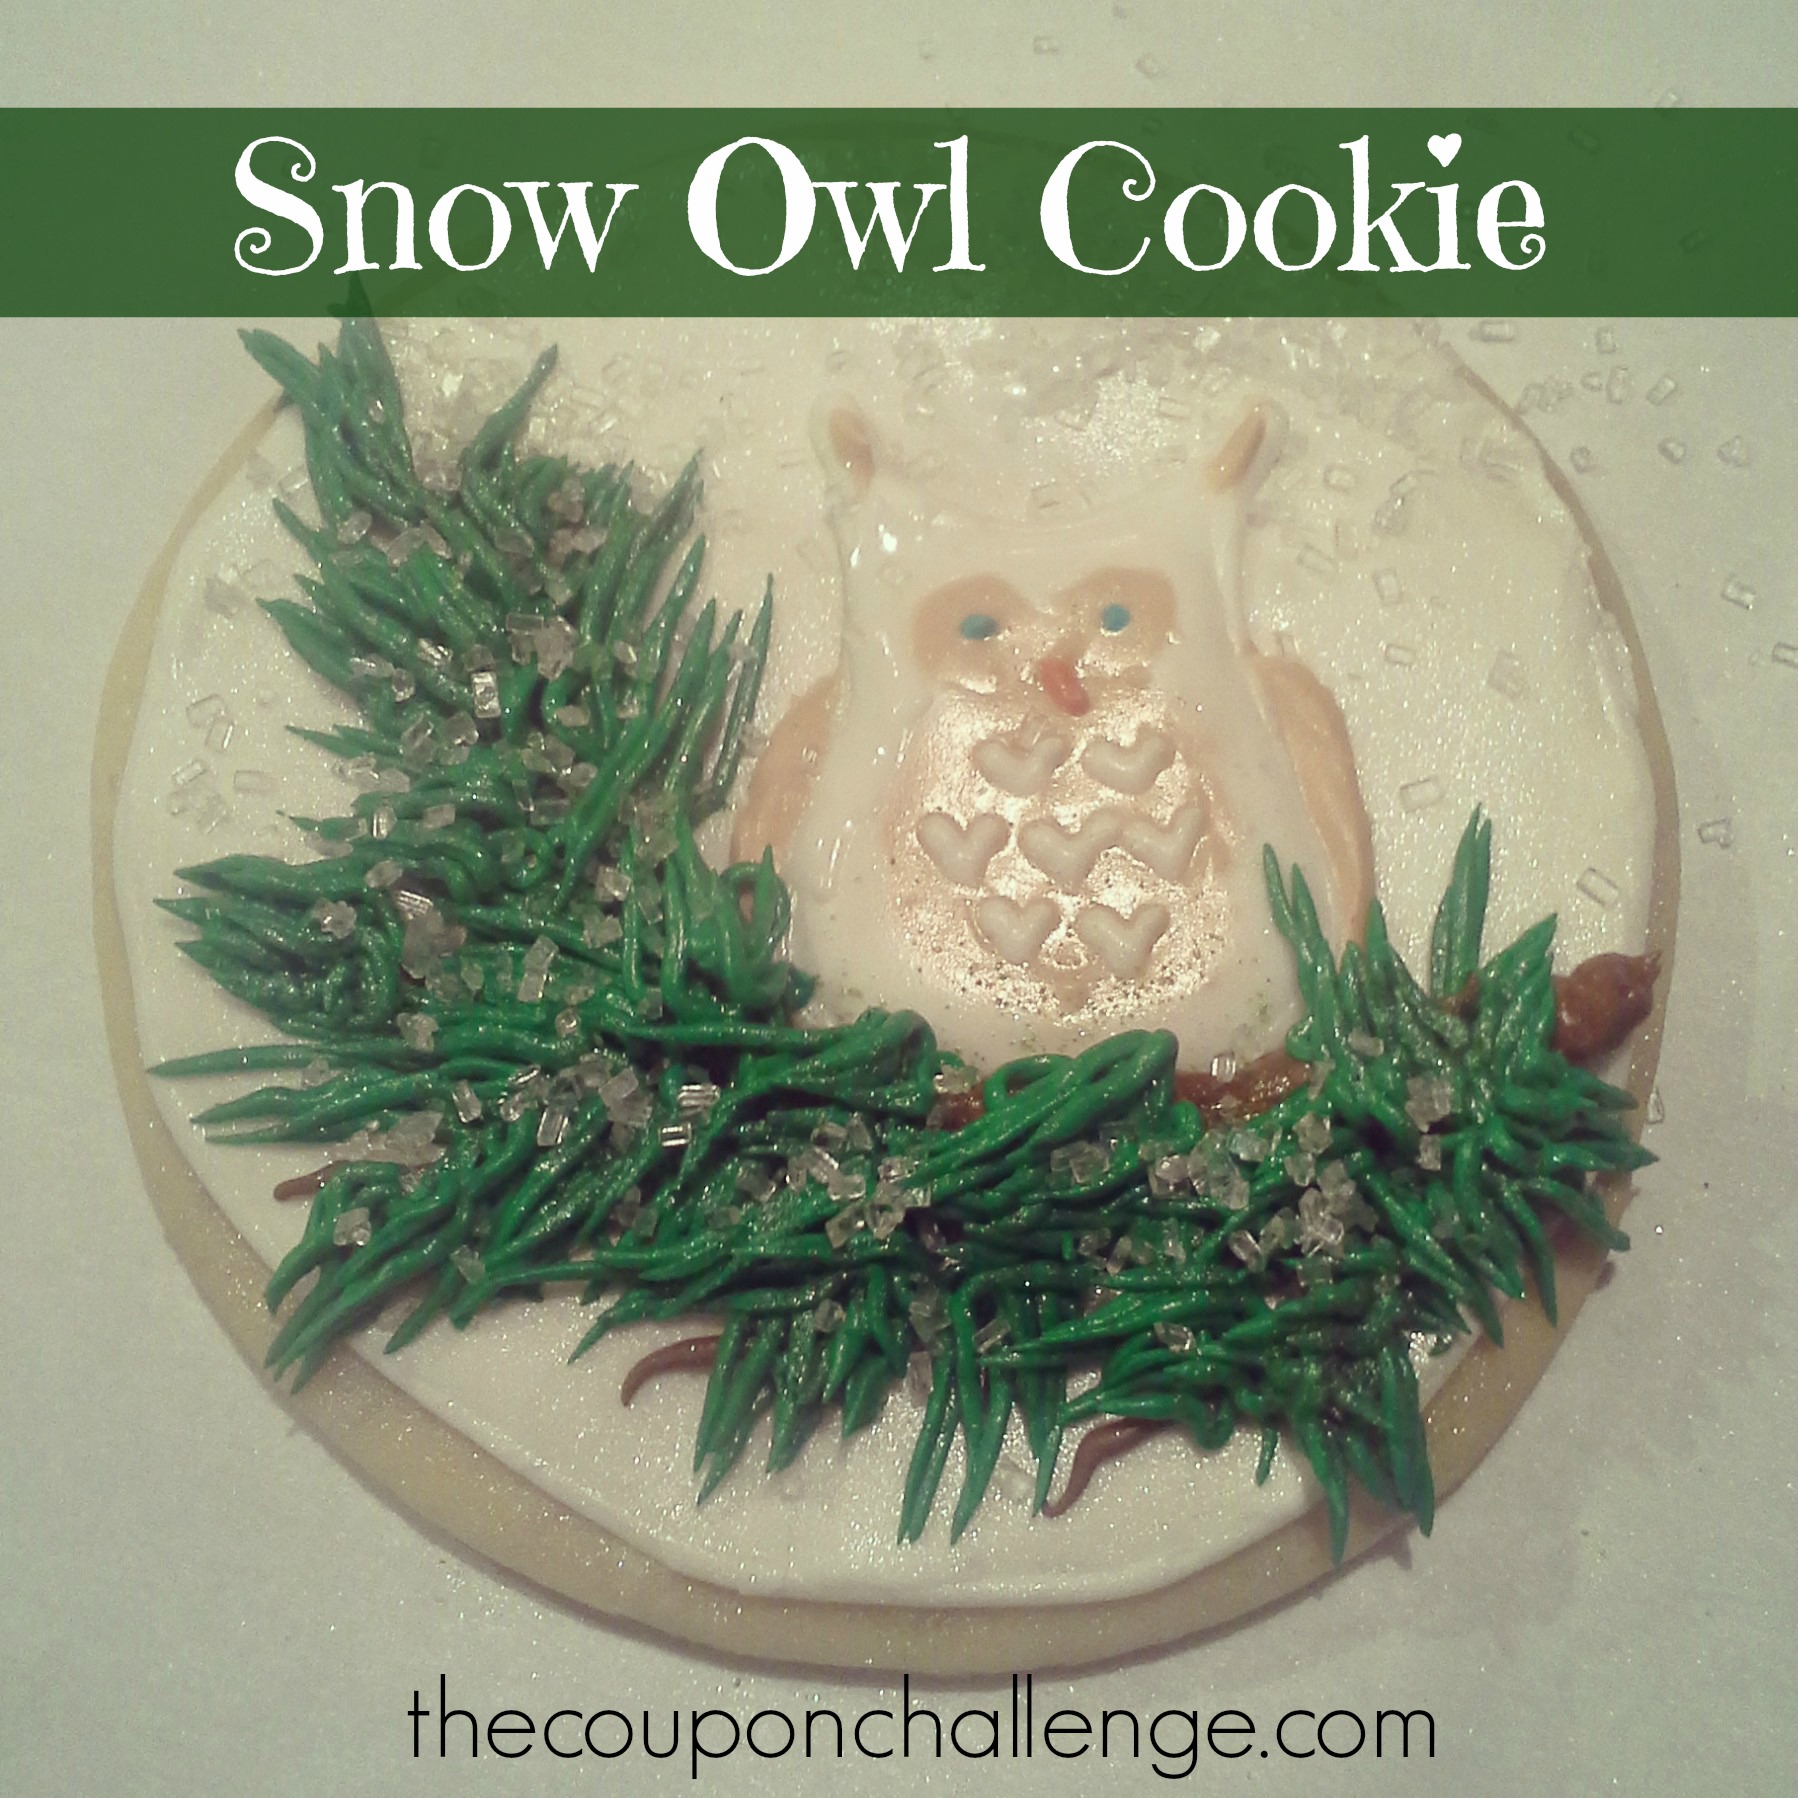
I absolutely adore this Snow Owl Cookie. It’s a gorgeous cookie that is sure to wow all your guests. It’s so pretty, you might not want to eat it!
Snow Owl Cookie Decorating Tutorial
Ingredients & Supplies:
- Prepared sugar cookies (I used a round cutter)
- Prepared royal icing in your choice of colors (regular & thinned for flooding)
- Parchment paper
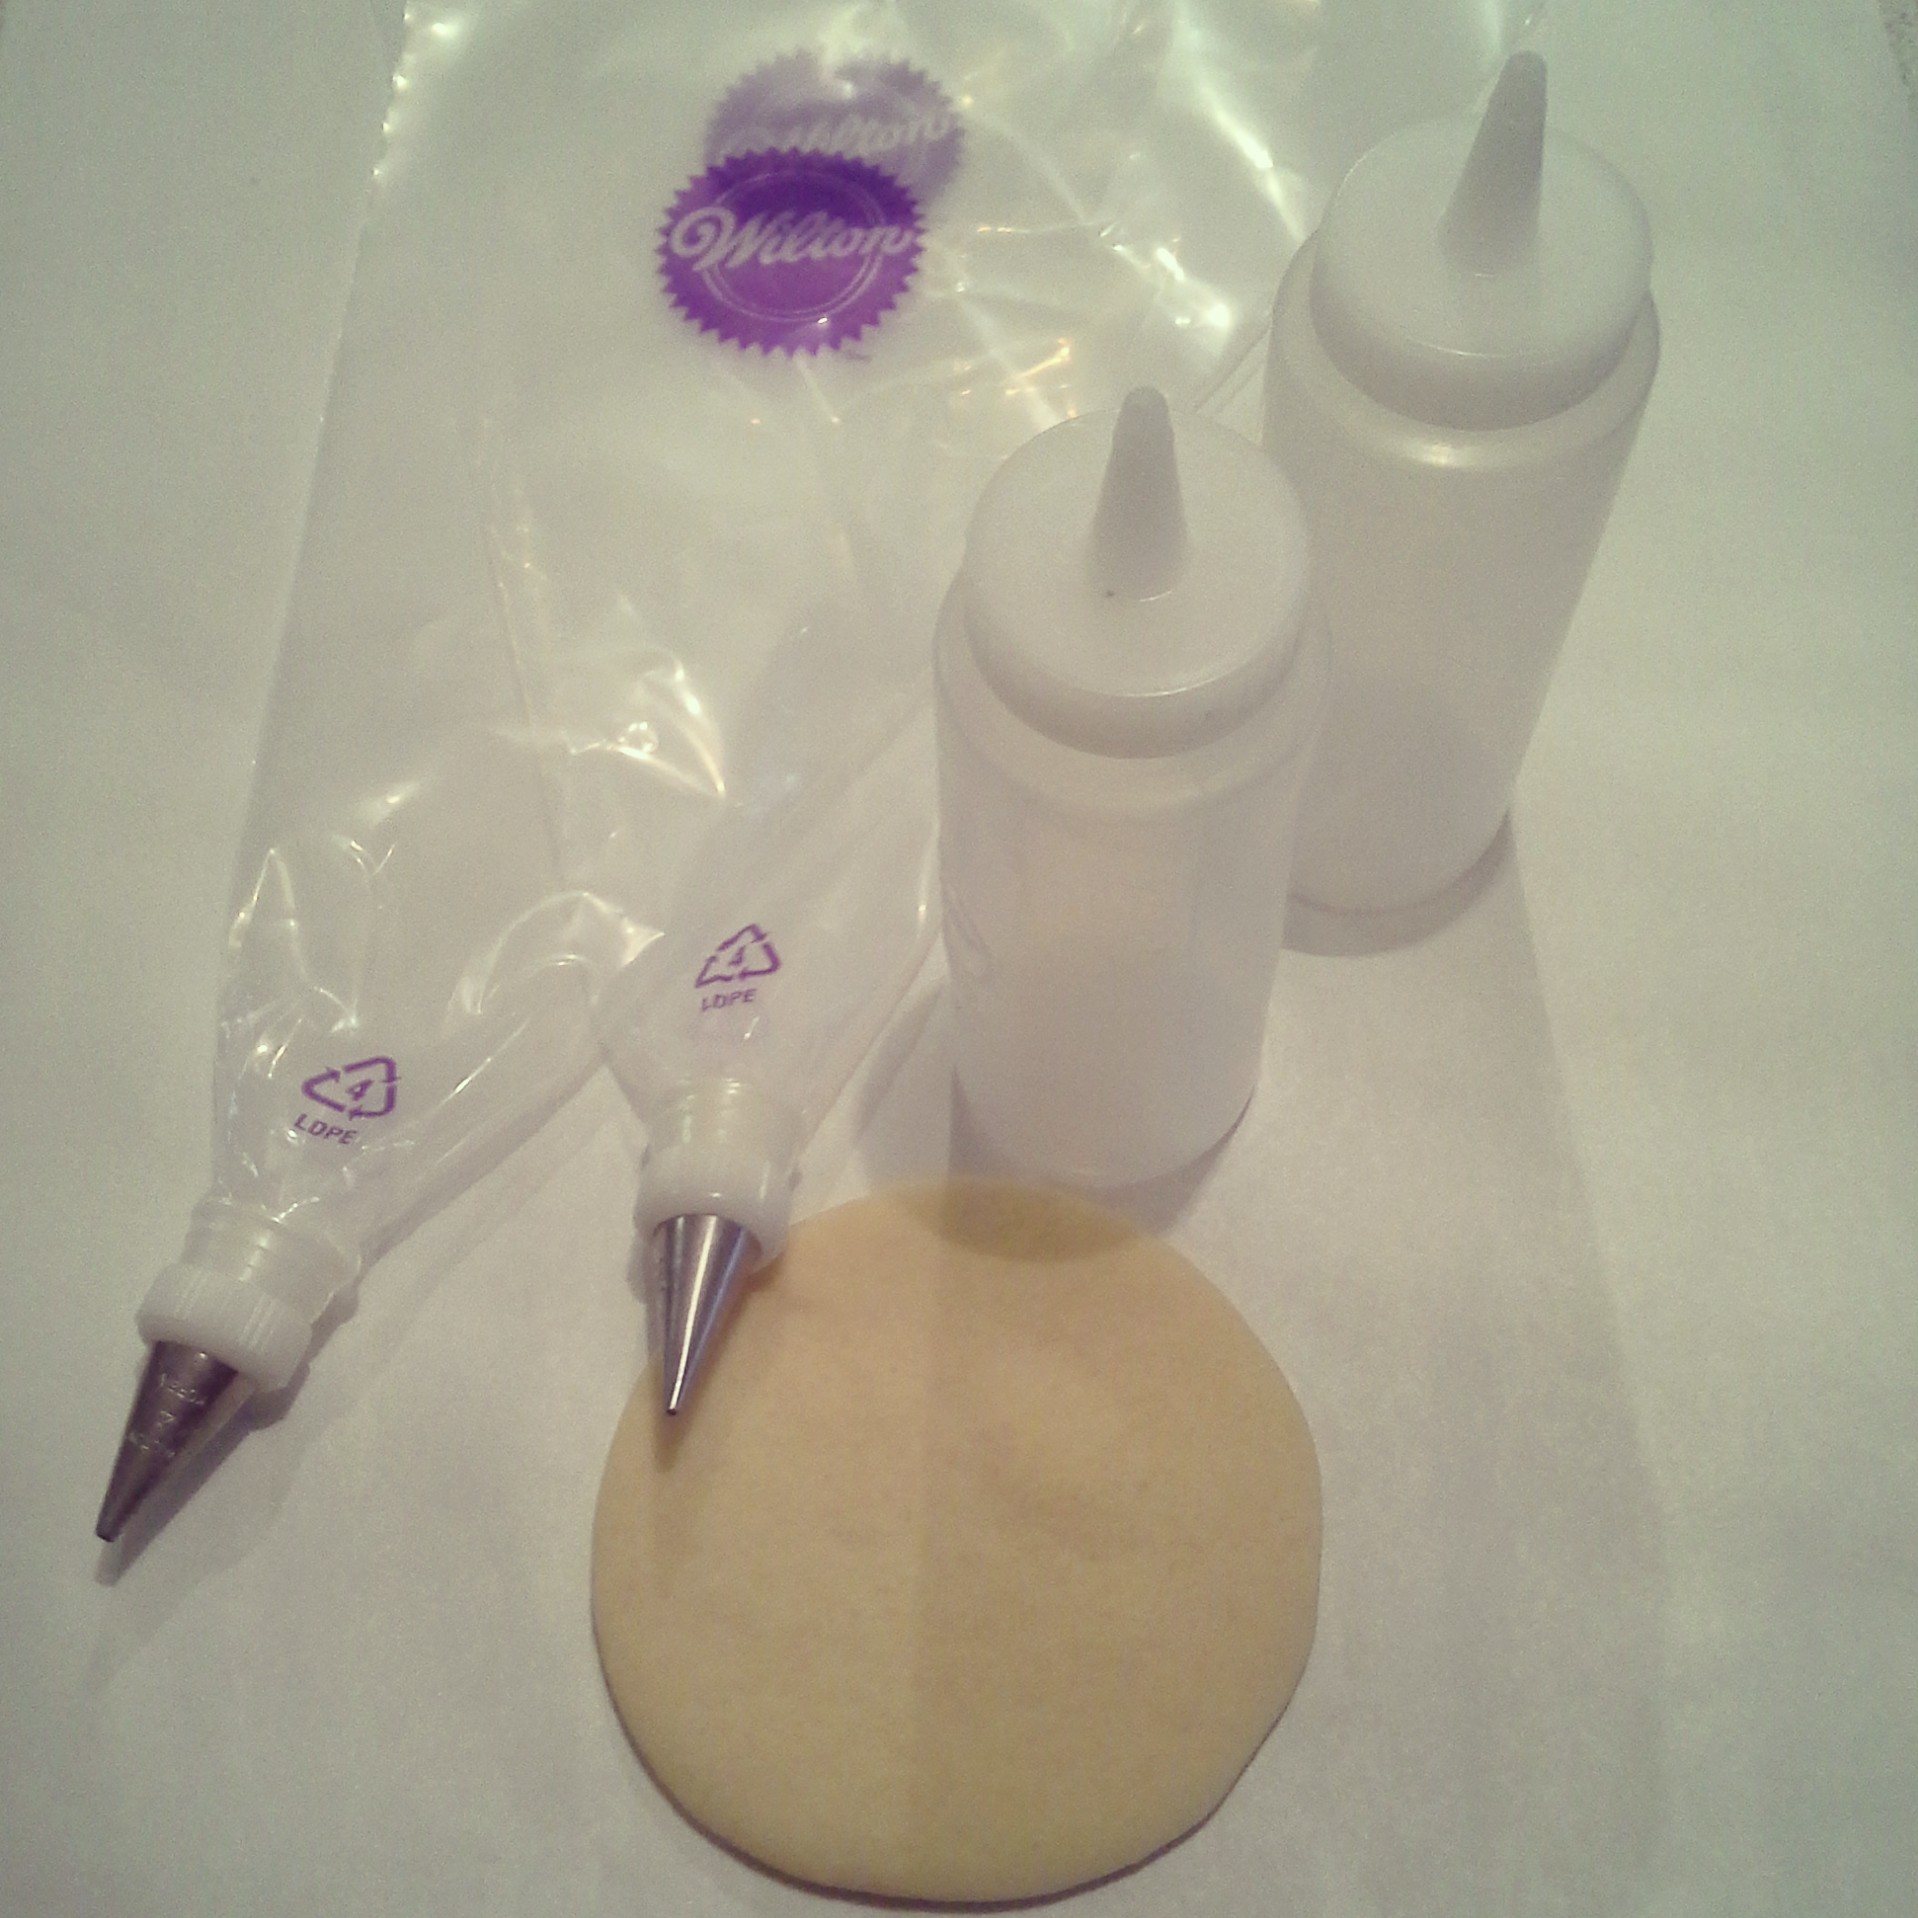
- Plastic piping bags, inserts, and tips (#2 & #4 round, and small leaf tip)
- Plastic decorating bottles (for flooding)
- Toothpicks
Begin by placing royal icing of each color you plan to use in a piping bag with insert. Thin a small amount of each color you will flood with and place in decorating bottles.
In this tutorial, I will use the following:
White with a #4 round tip & white for flooding
White with a #2 tip
Tan with a #2 tip & tan for flooding
Orange – dotting with toothpick
Brown with a #2 tip
Aqua – dotting with toothpick
Green with a “grass’ tip
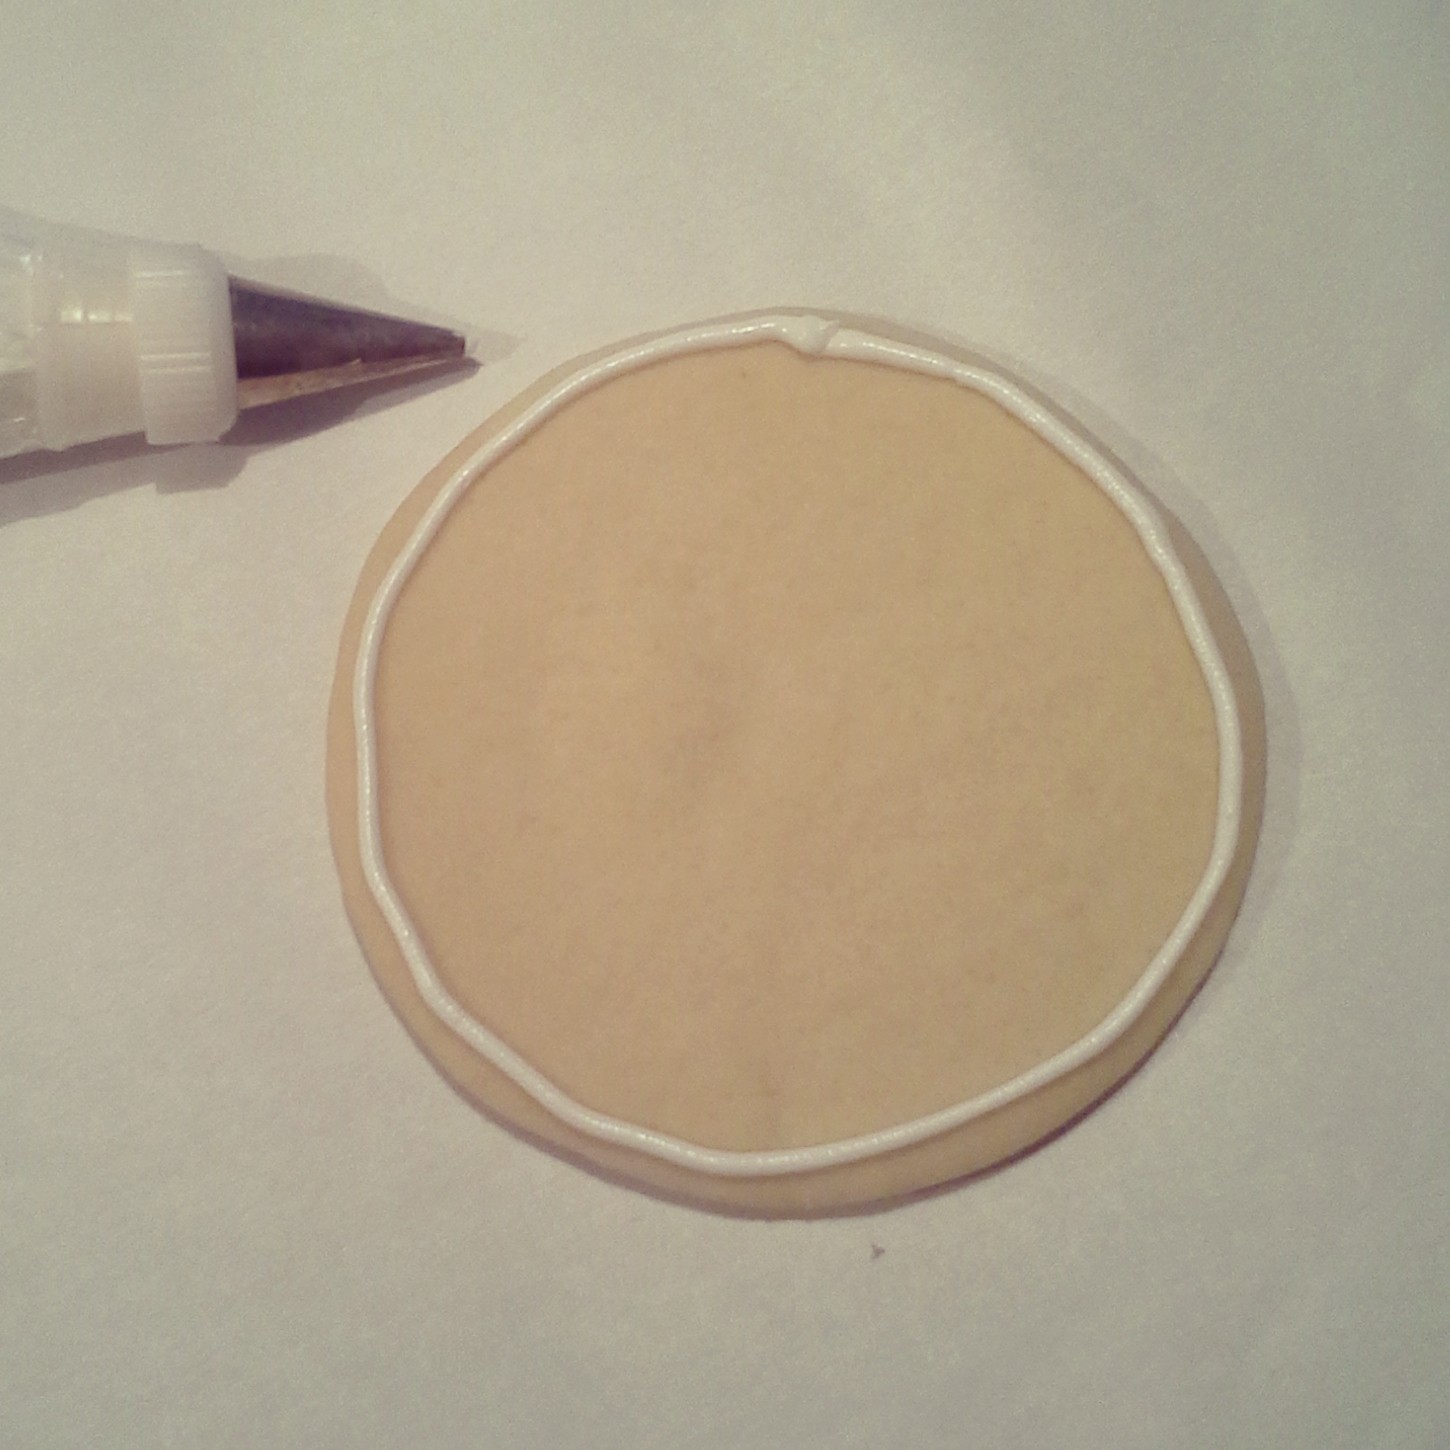
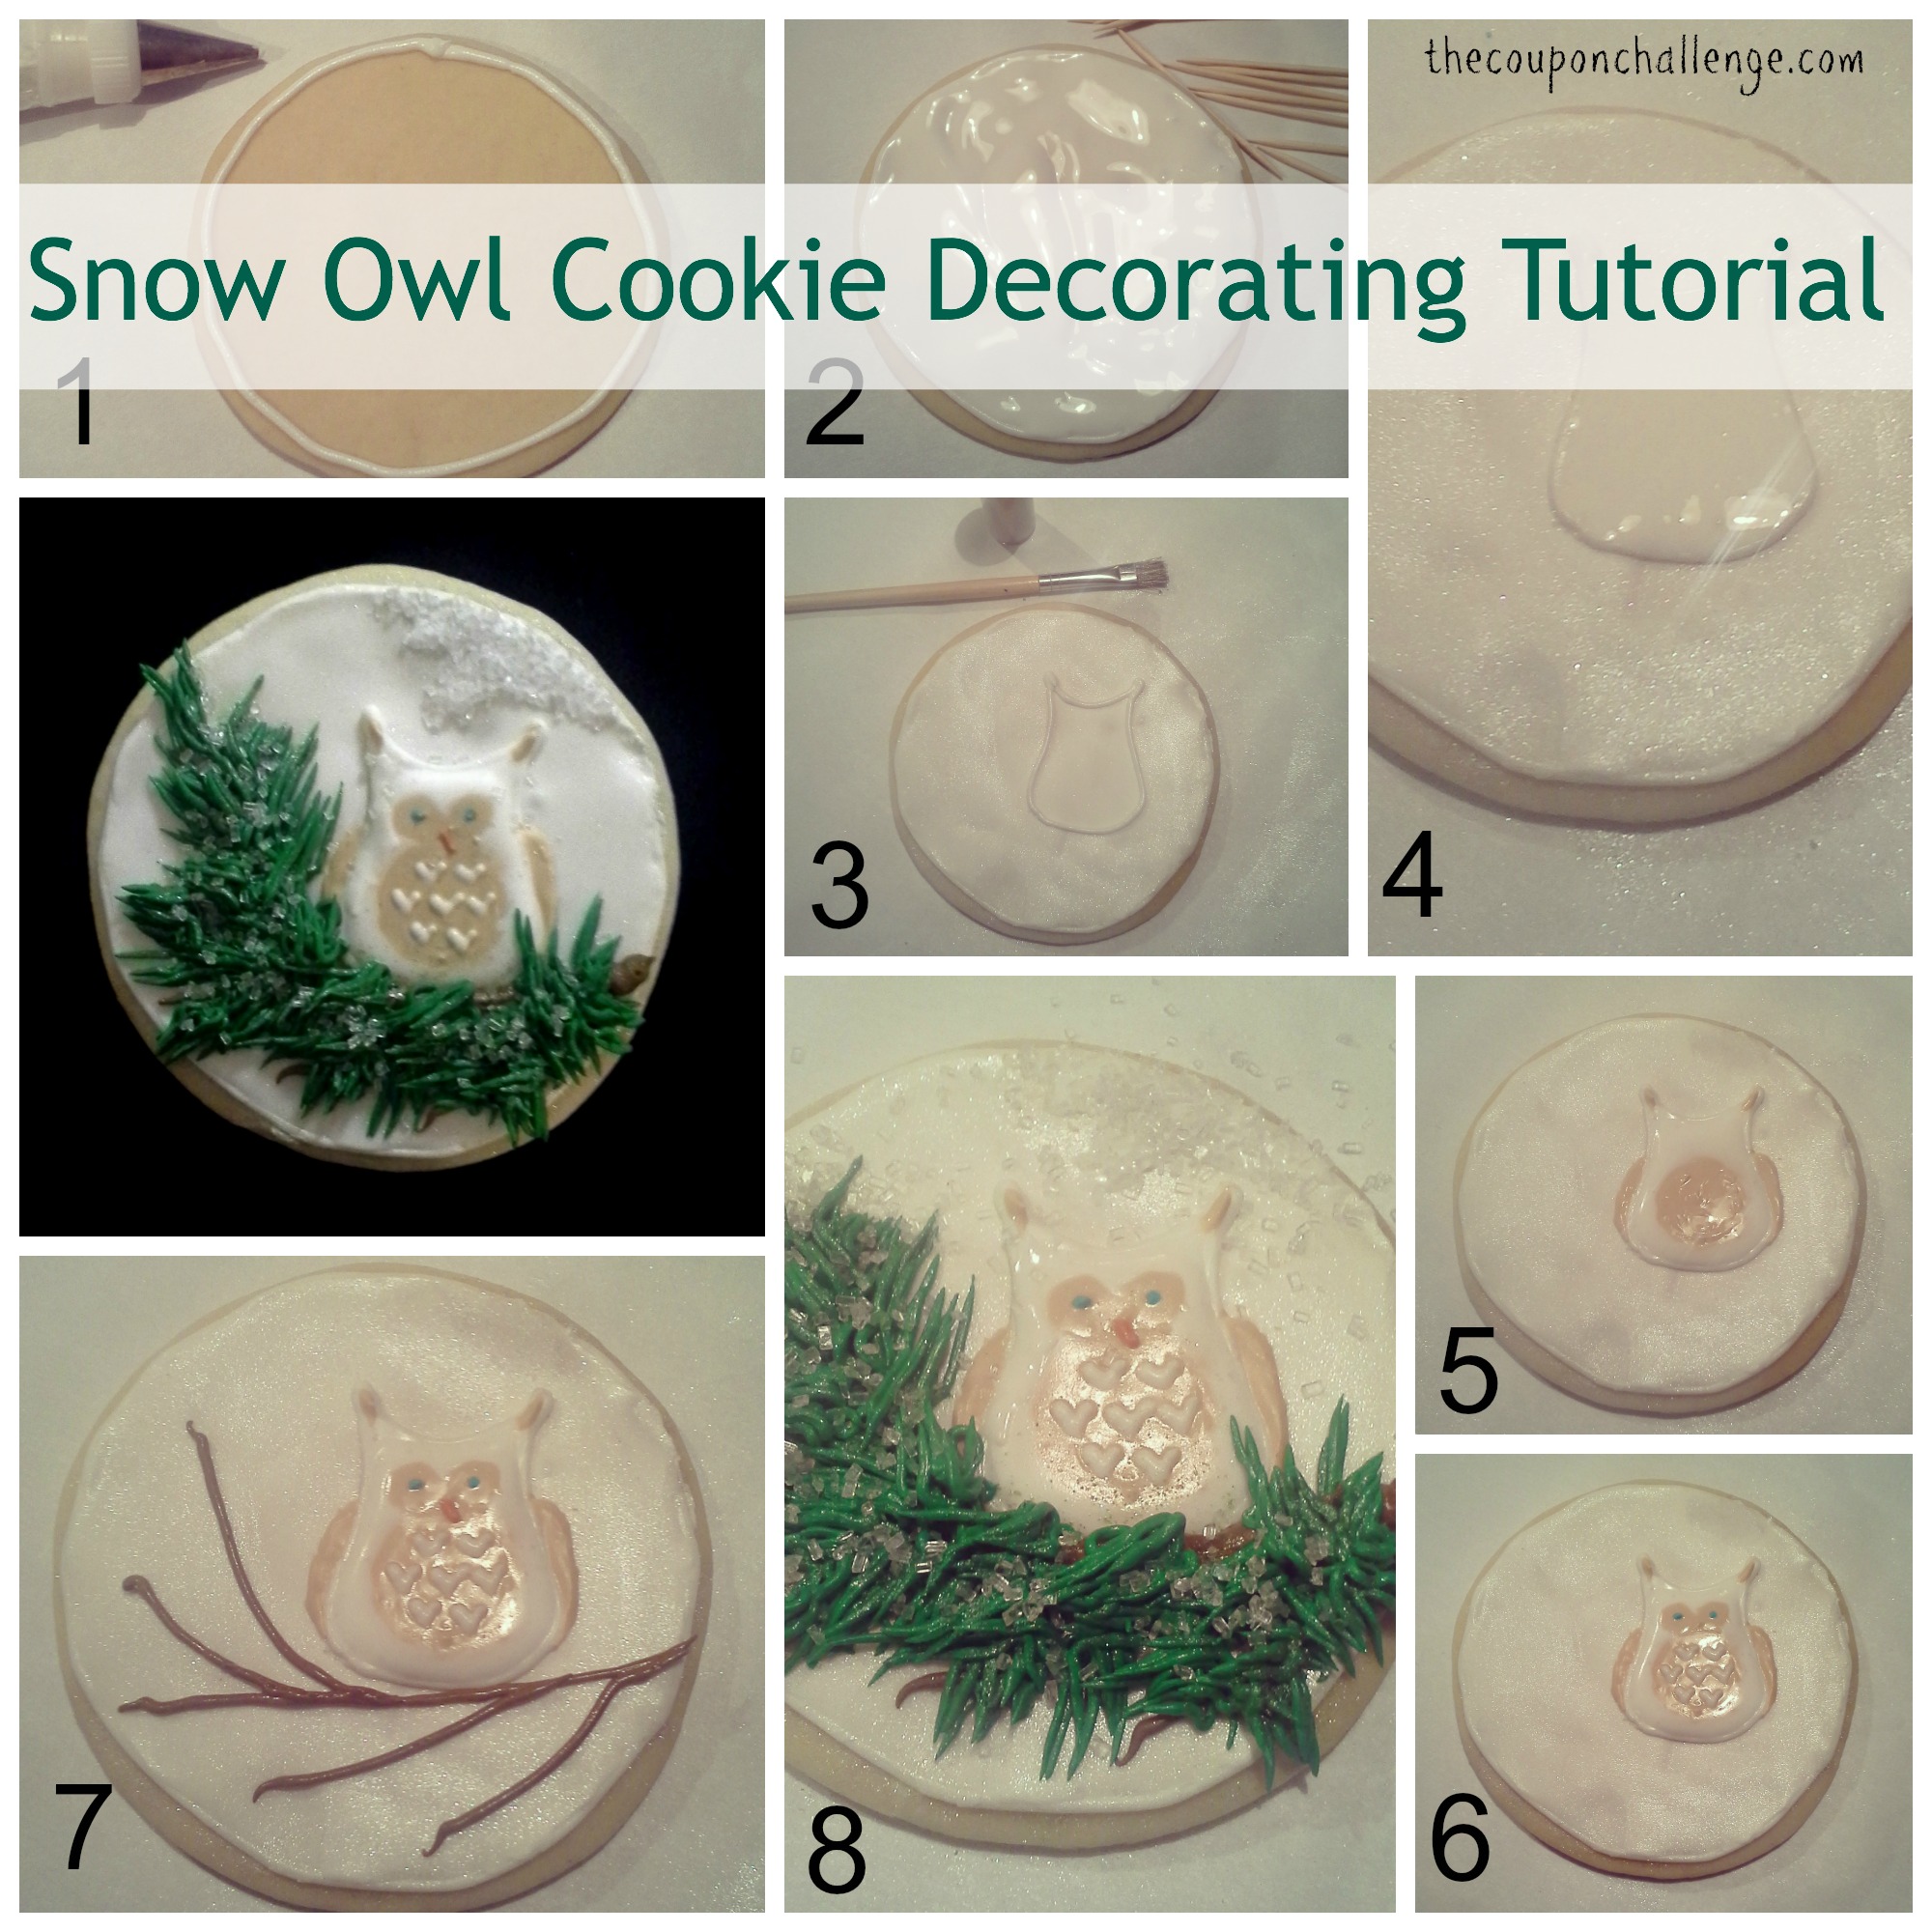
Step 1
Lay your cookies out on a flat surface covered with parchment paper. You’ll start by piping a fine line around the outside of each cookie using your White royal icing and #4 tip, completing all cookies.
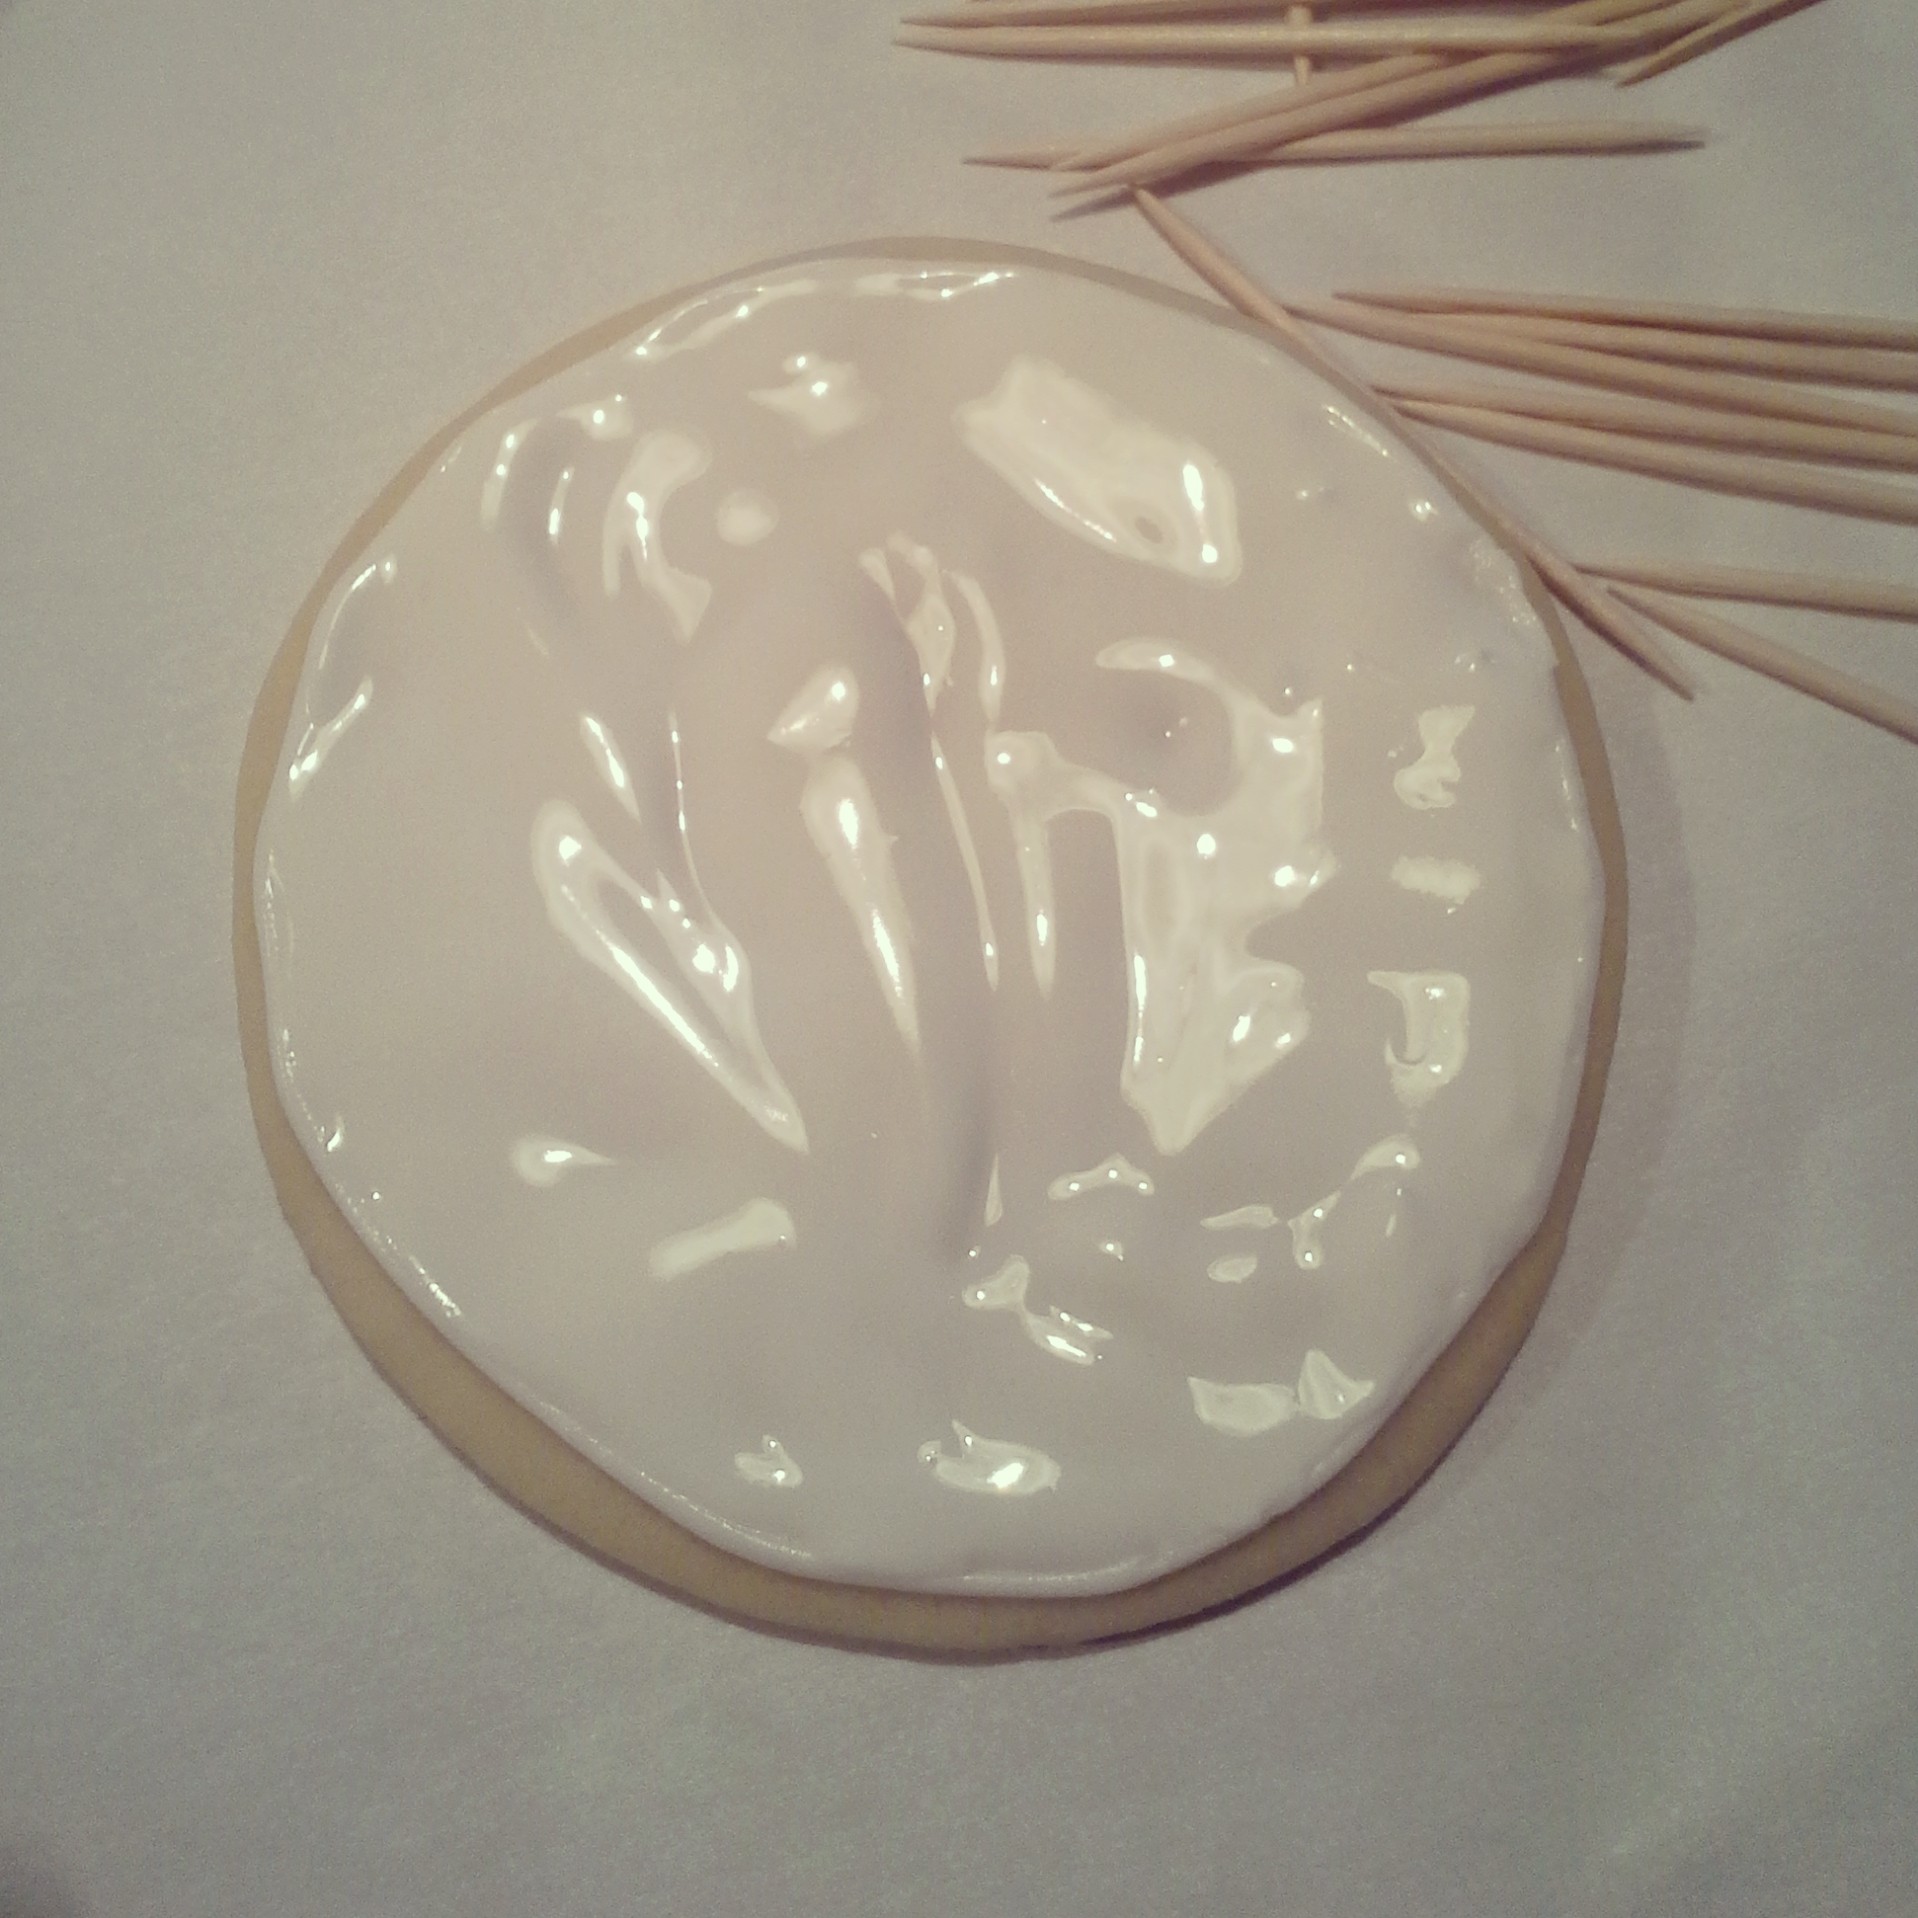
Step 2
Begin flooding each cookie with your thinned white icing. Pour a small amount of the thinned ice around the cookie, just inside your piped line and some through the middle of the cookie. Using a toothpick evenly spread the thinned icing over the entire cookie. This is what is referred to as “flooding”. Work your way through, completing each cookie before moving to the next.
Allow icing to completely dry and harden before moving on to the next step.
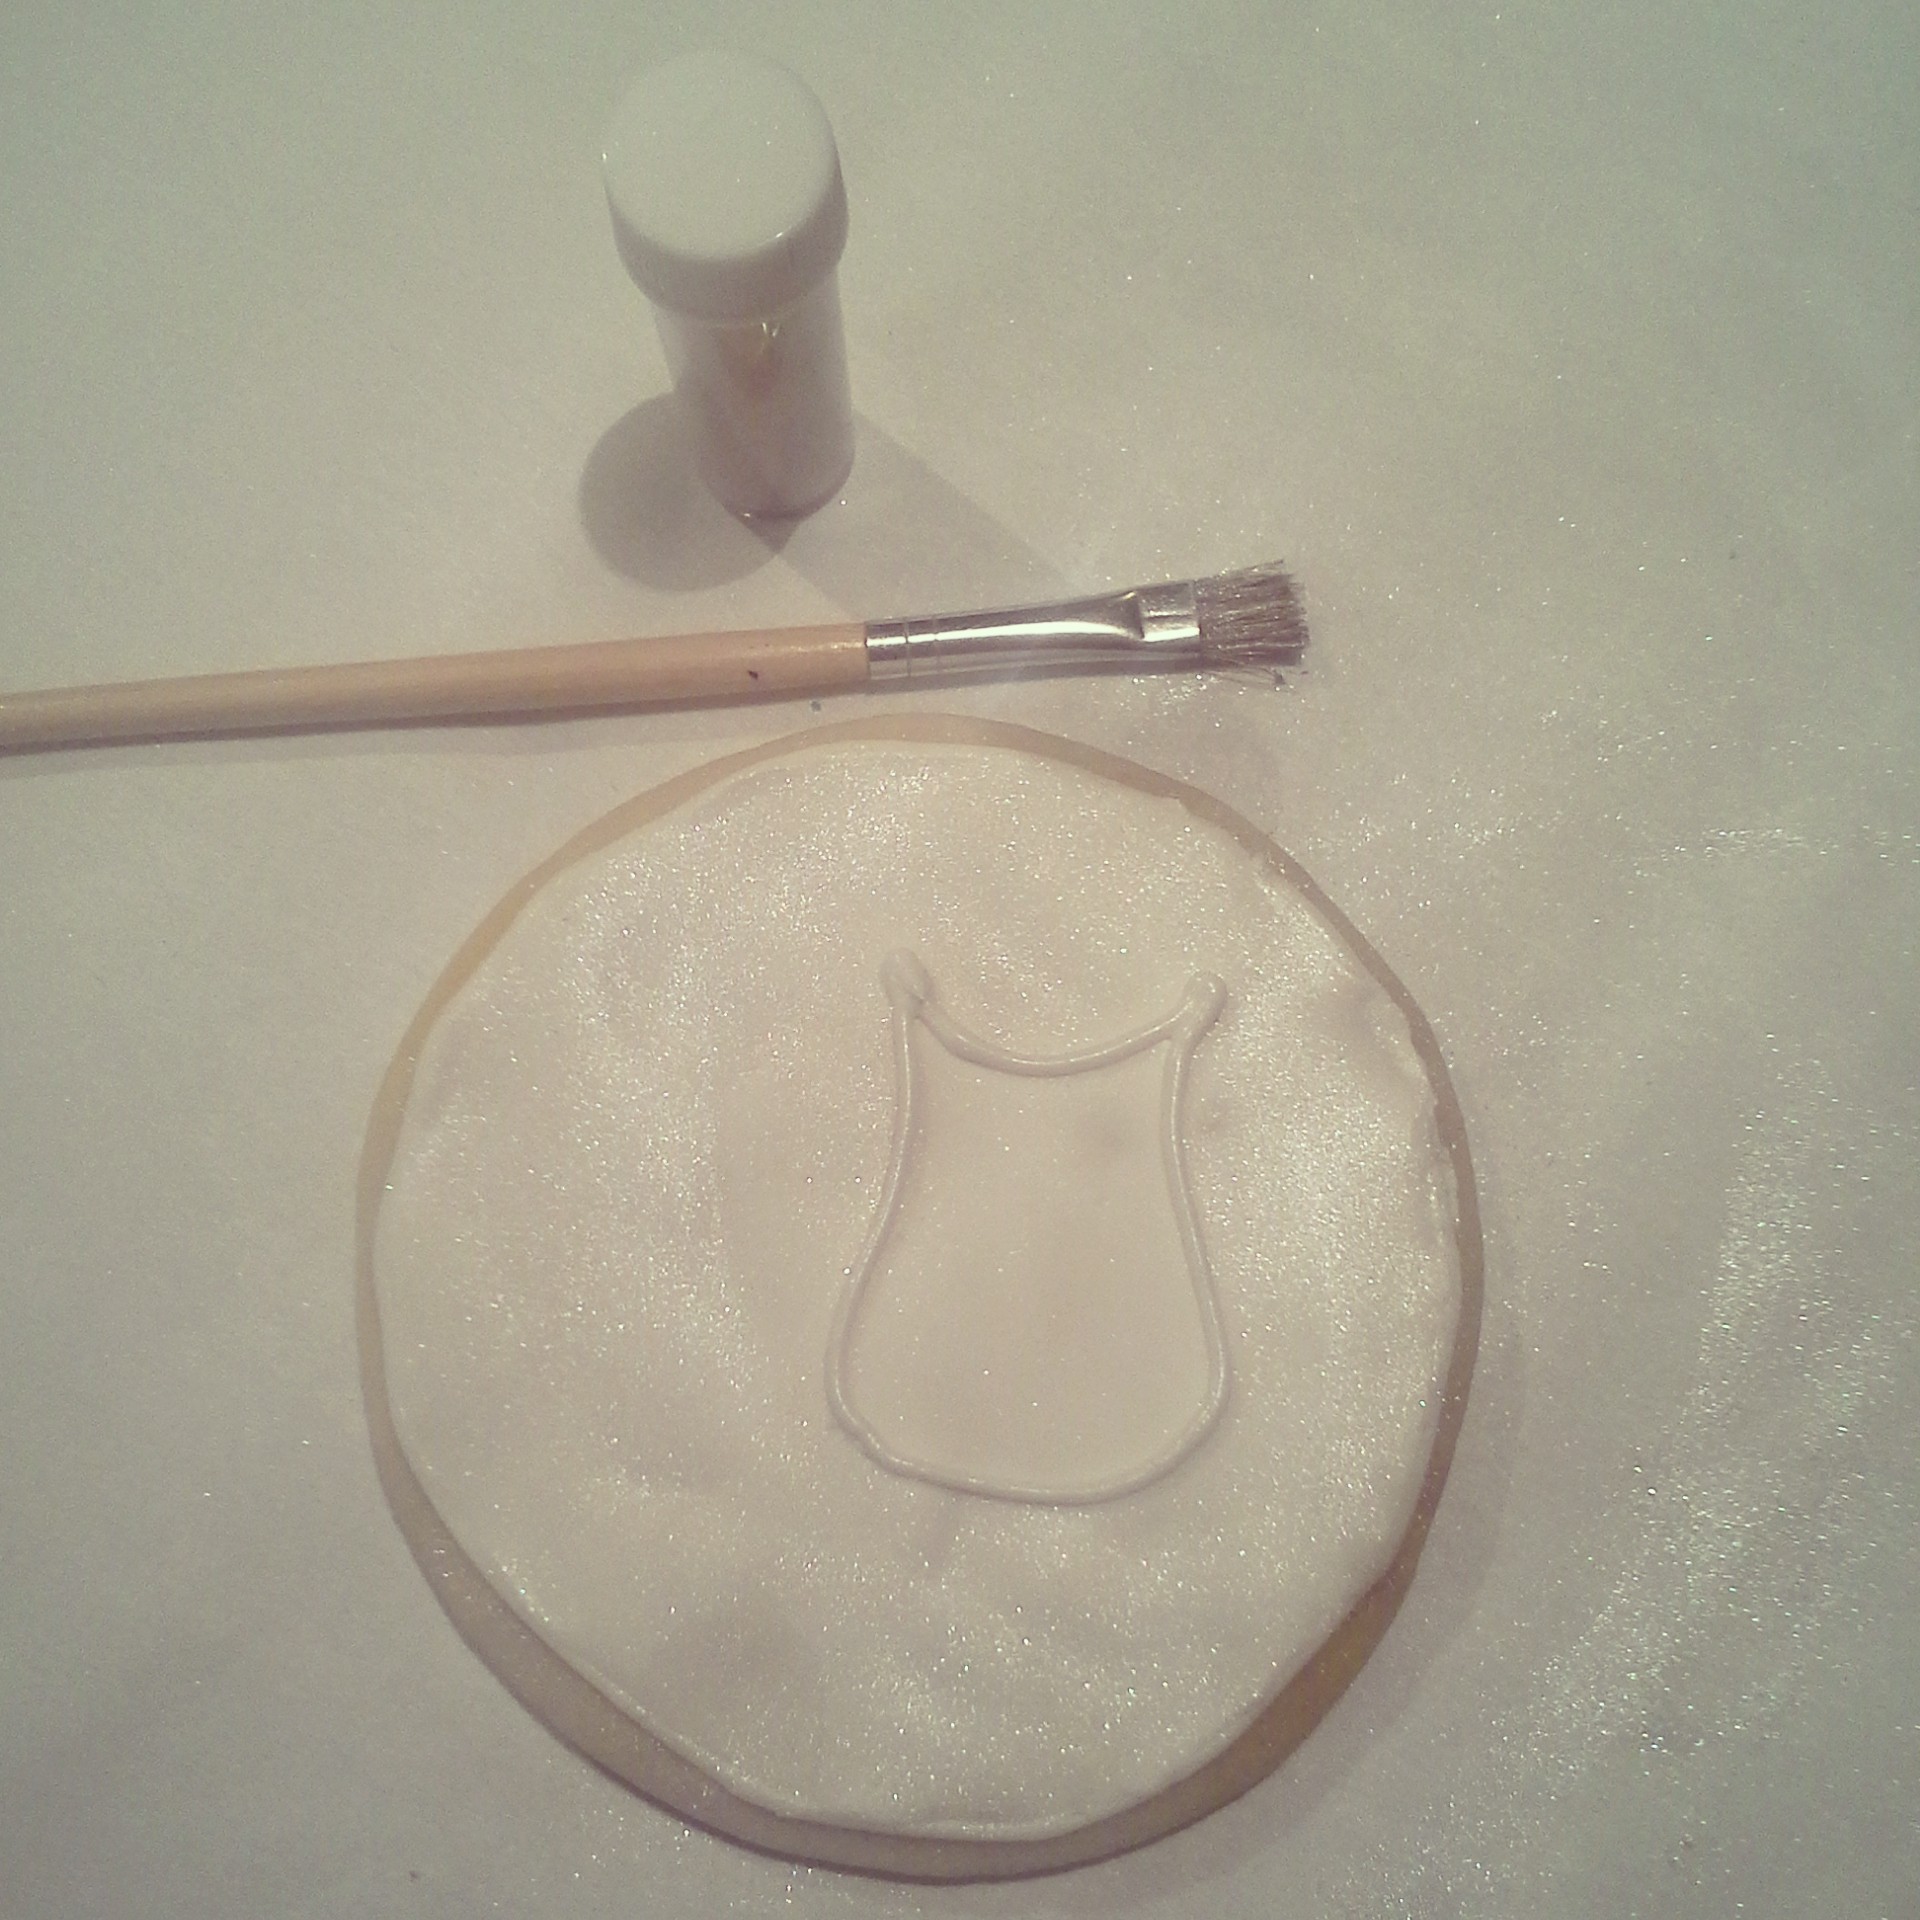
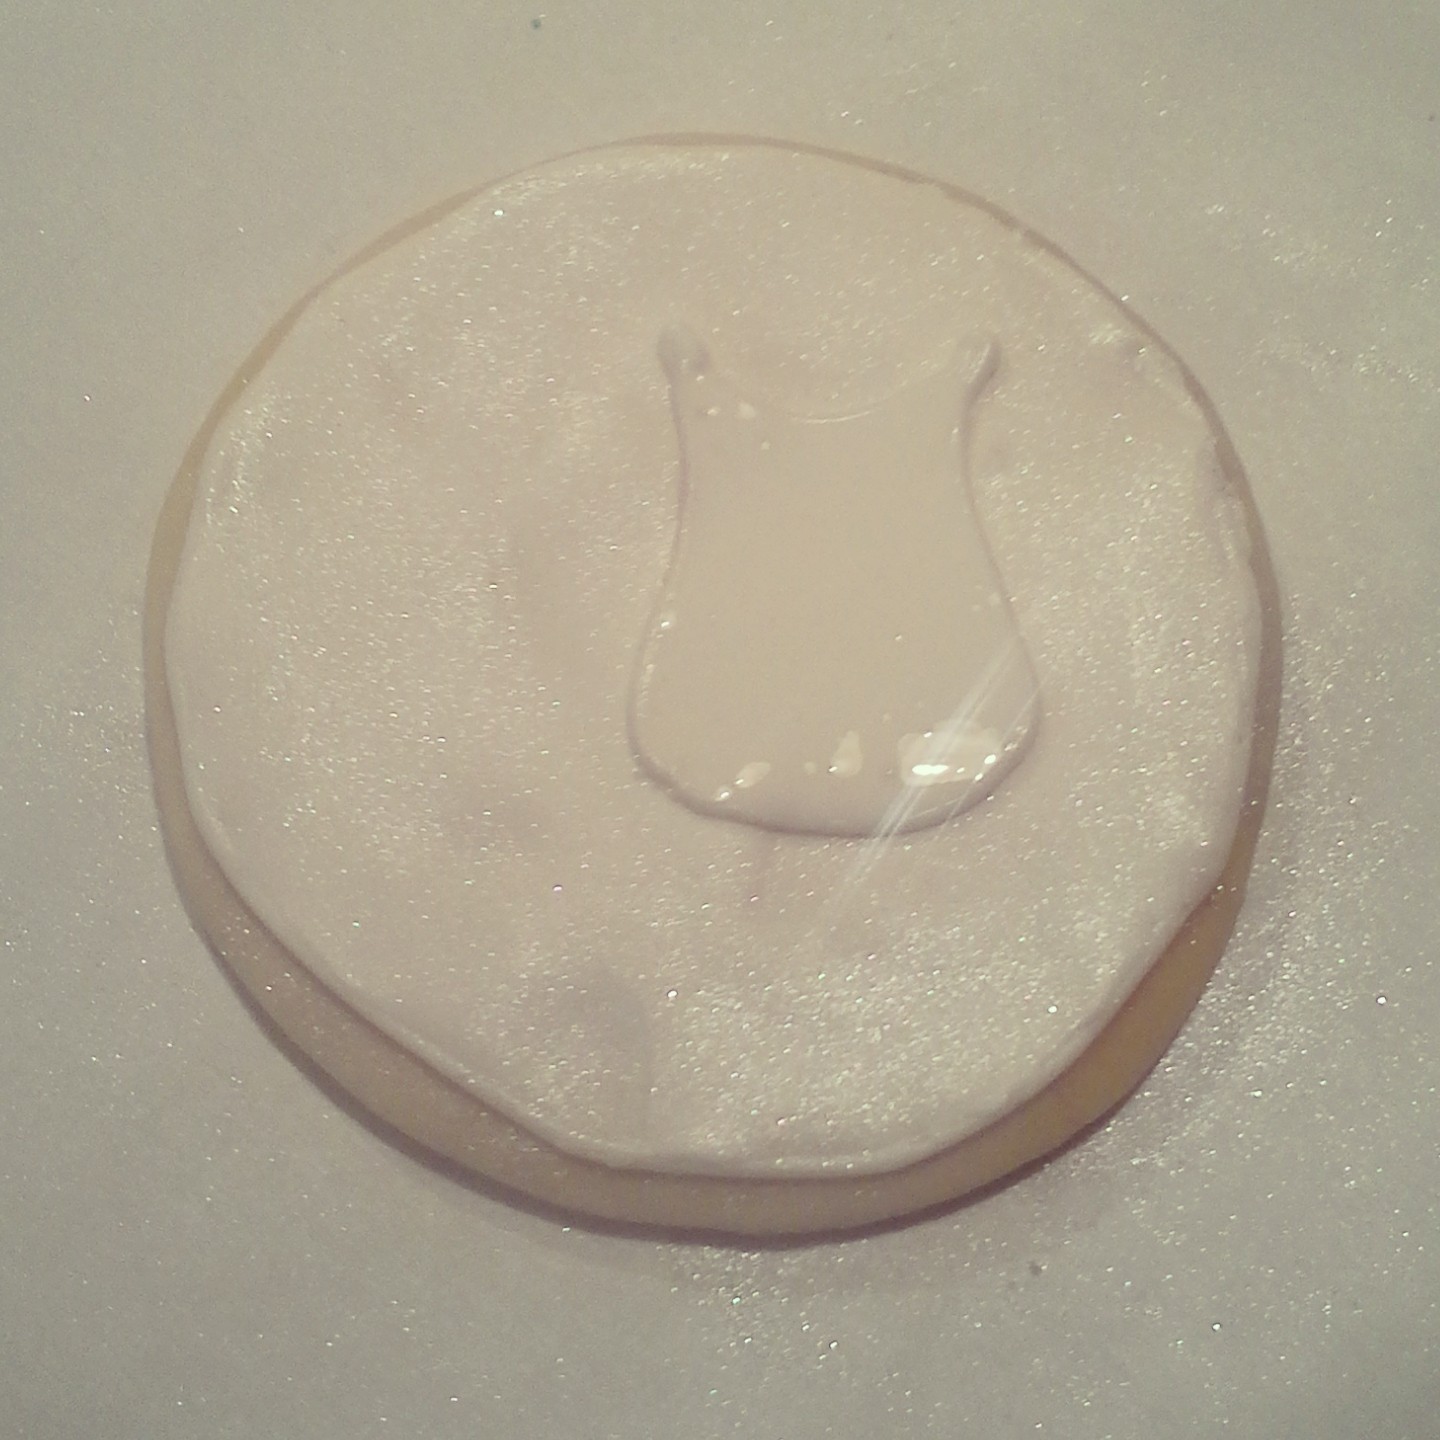
Step 3
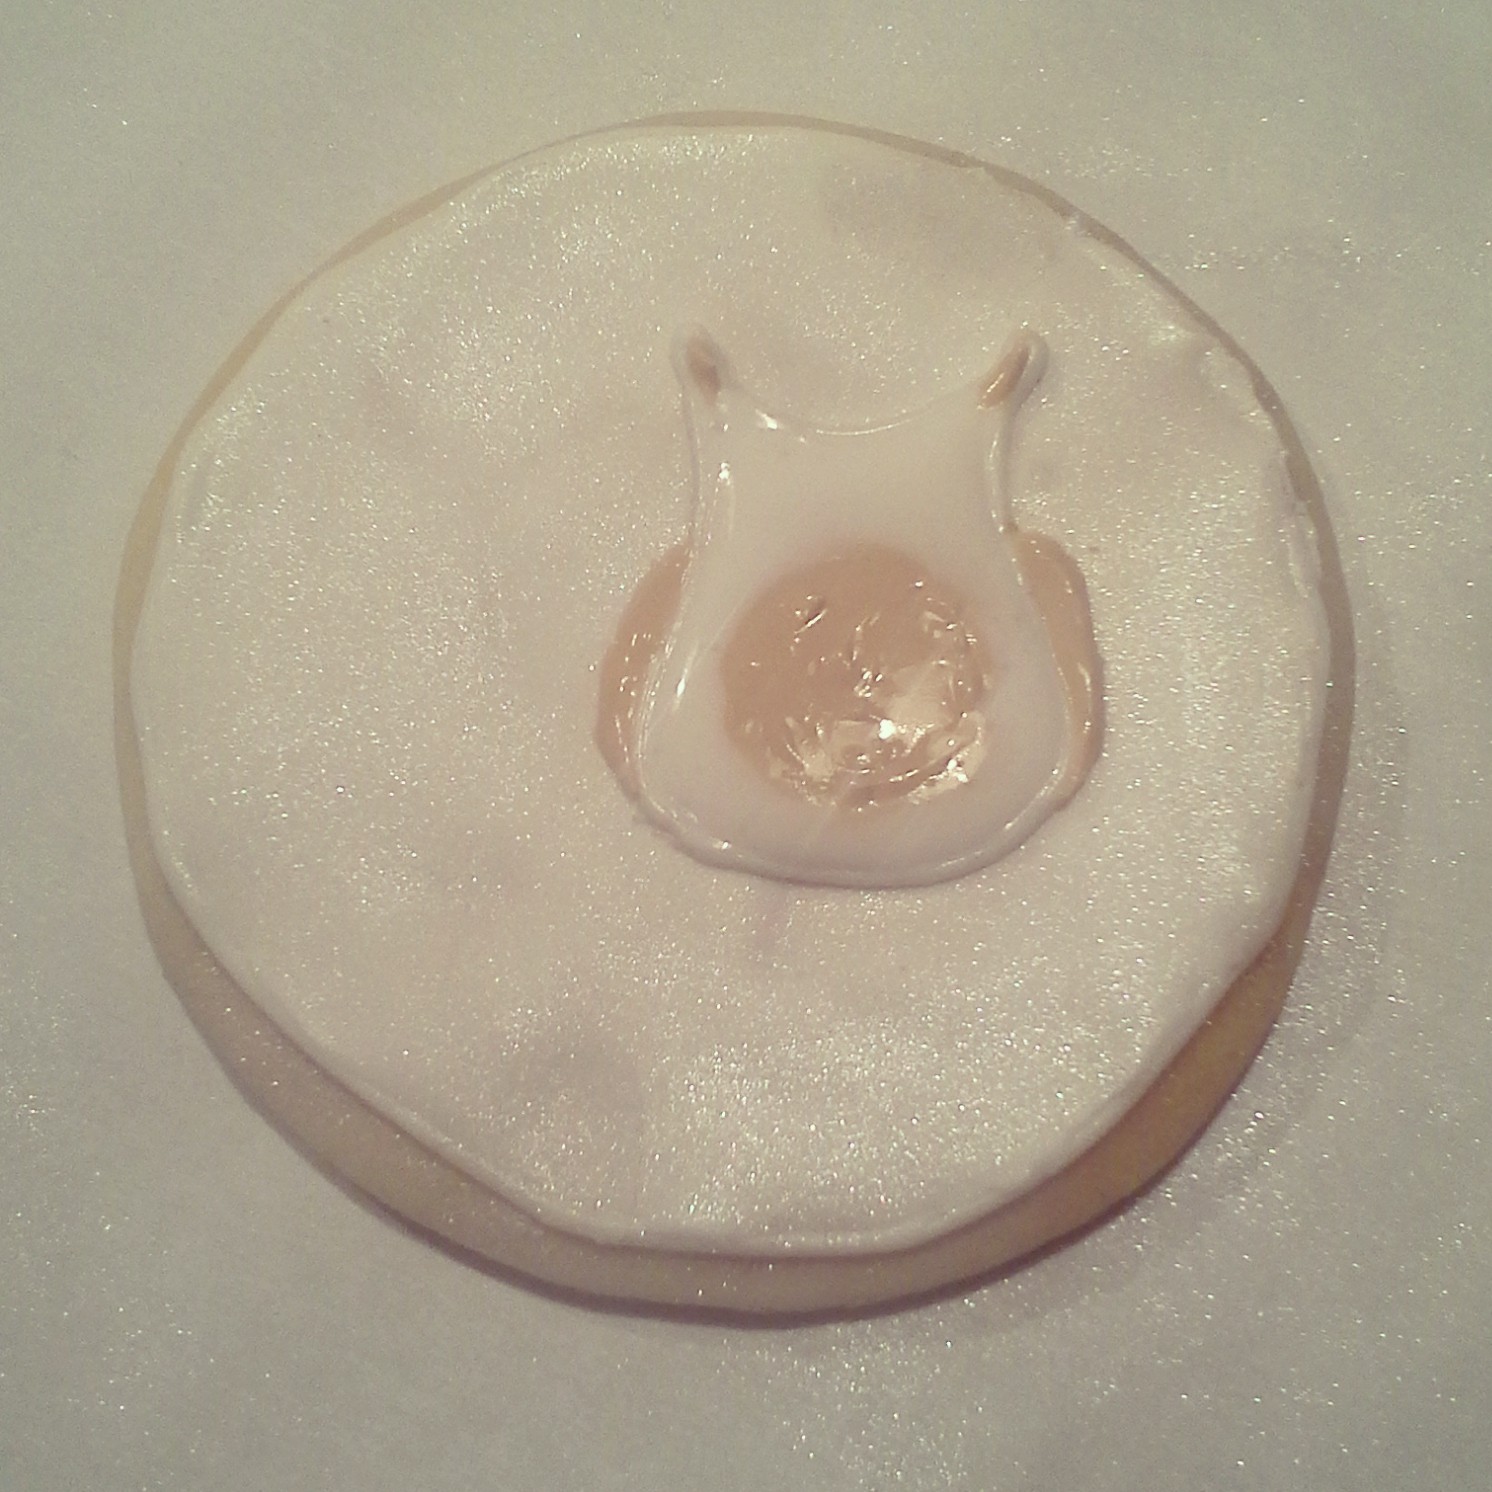
Using your white royal icing and # 2 tip, pipe the outline of the owl. Remember you’re creating a cookie with frosting and while it is a masterpiece, it is not meant to be a perfect drawing. Pipe the outline of the owl on all cookies. After the body outline is done, use a small paint brush to apply silver shimmer dust to the area outside of the body outline. Then, using the same process as step 2, flood the inside of the owl with the thinned white icing.
Again allow white to dry completely before moving on.
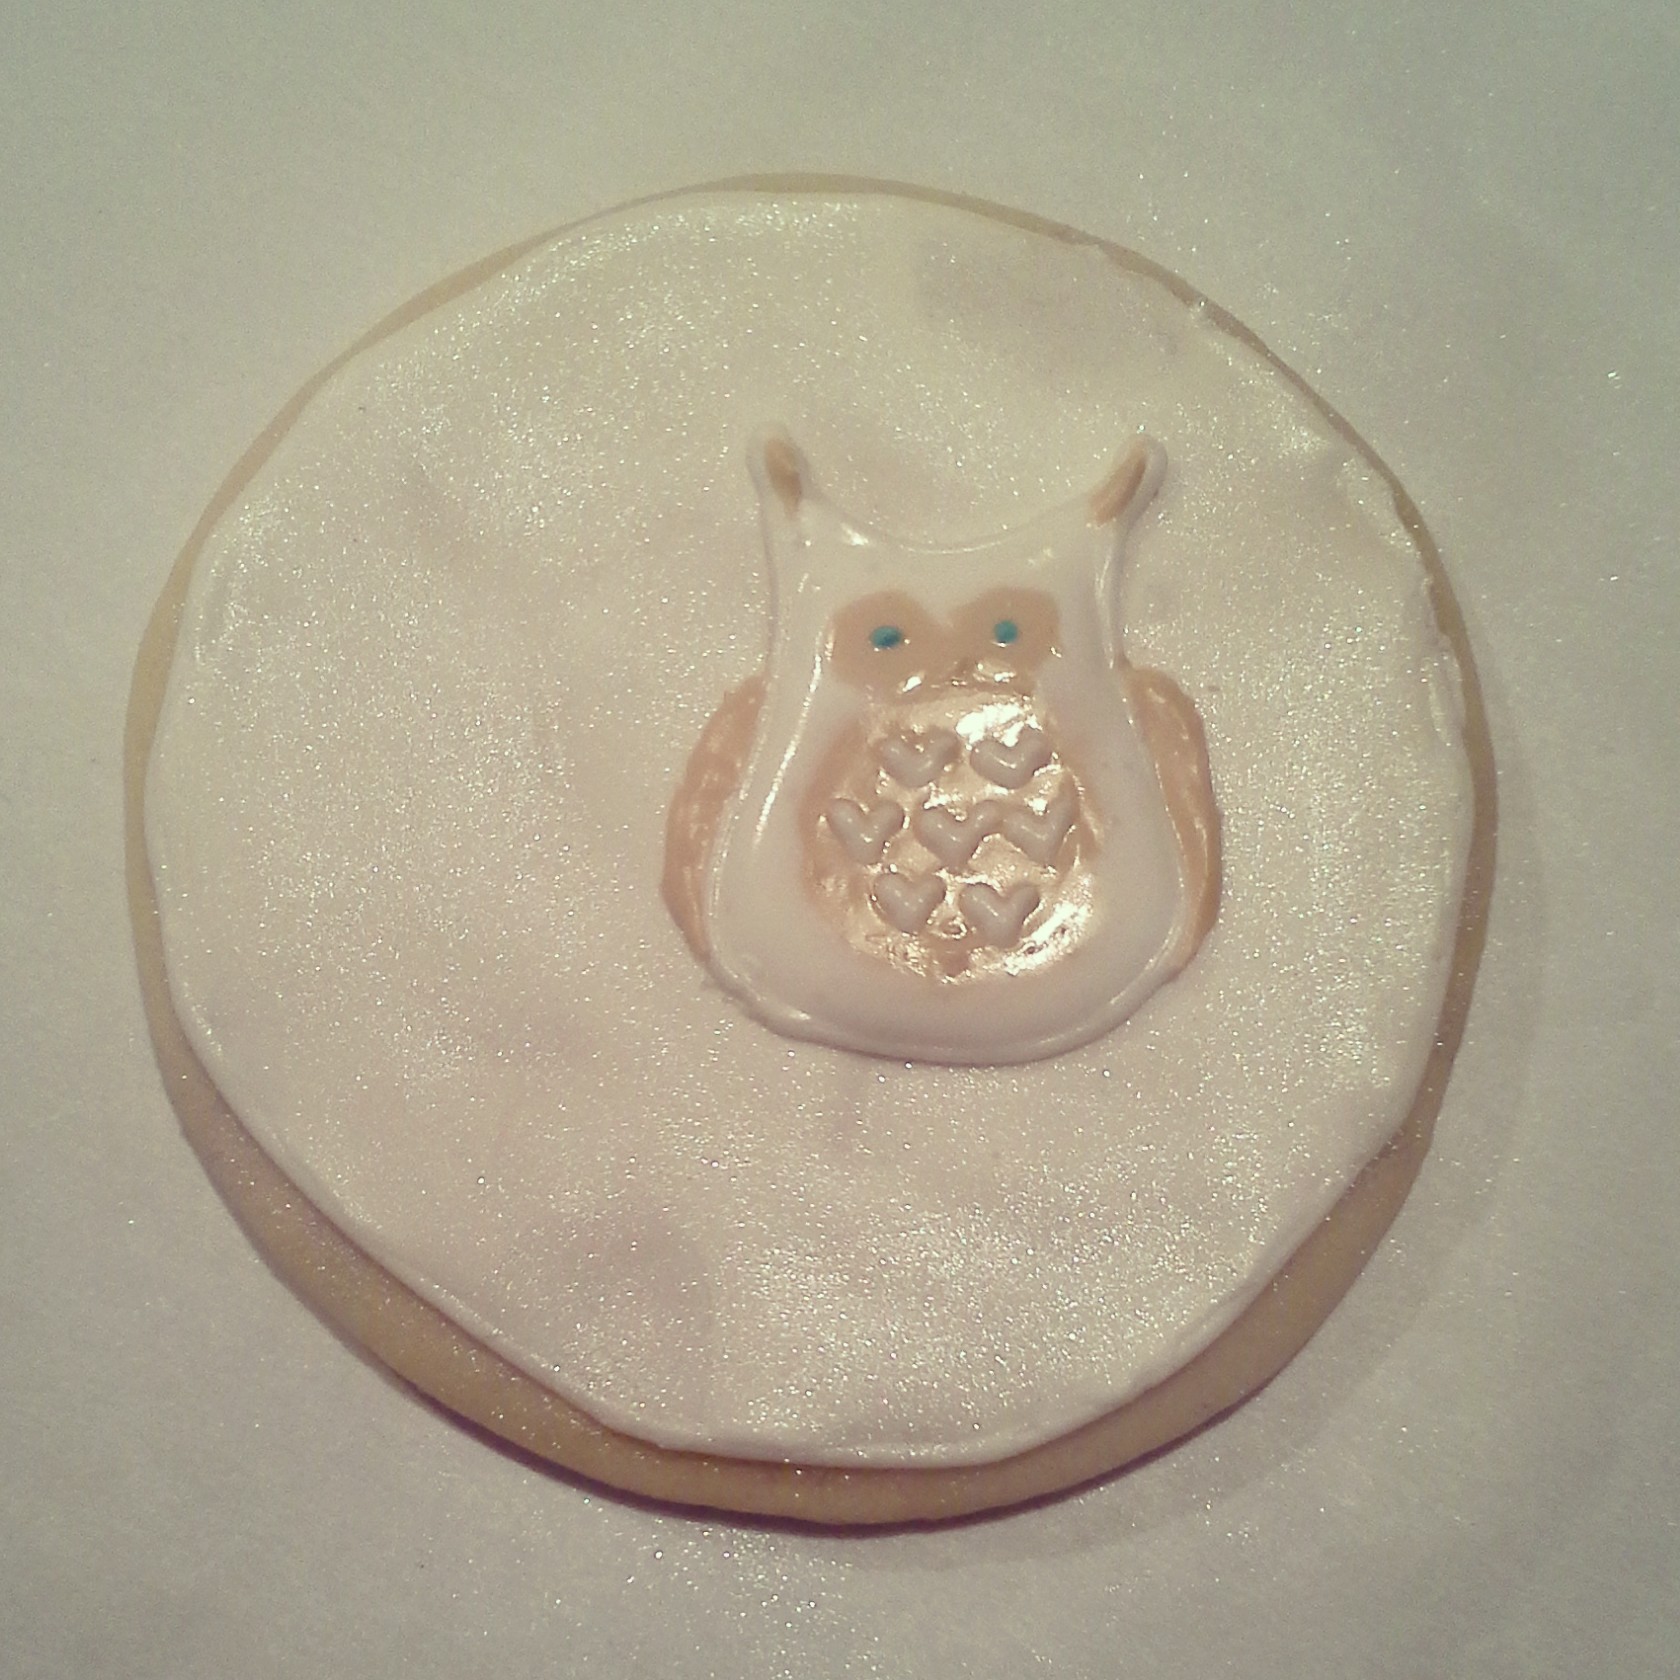
Step 4
Using your tan icing with #2 tip, place two small dots for your owls eyes. Apply a small dot of aqua into the center of each eye with a toothpick.
Step 5
Using your tan icing with #2 tip, pipe an oval shape, starting at the bottom of one eye and ending at the bottom of the other. Pipe the tan on each cookie and then use the same process to flood inside the oval with your thinned tan icing. Add a small touch of tan inside each ear.
Step 6
While your tan icing is still wet, carefully pipe the “v’s” onto the owl’s breast with the white icing and #2 tip.
Step 7
Using your tan icing with # 2 tip, pipe a line for the wings down each side of the owl.
Step 8
Using a toothpick, add a small line of orange icing for the owl’s beak.
Step 9
With your brown icing and #2 tip, pipe a lines for the “branch and limbs for the owl to sit on.
Step 10
Add small inverted “v’s” at the base of the owl and over the branch for the owl’s feet.
Step 10
Using your green icing and grass tip, pipe at an angle to create pine needles along your branch and limbs.
That’s it! There are a lot of steps involved, but it will be well worth the effort to see the end result.
If you’re entertaining, try making this simple Winter Sangria Recipe. You may also like my White & Blue Snowflake Cookies Recipe
Perfect Sugar Cookie Recipe
- 1 cup softened, unsalted butter
- 1 cup granulated sugar
- 2 eggs
- ½ tsp pure vanilla
- 1 tsp lemon extract
- 3 ½ cups all purpose flour
- ½ tsp baking powder
- ½ tsp baking soda
- ½ tsp salt
- In the bowl of stand mixer, cream together butter, sugar, eggs, vanilla, and lemon extract.
- In a separate bowl, combine flour, baking powder, baking soda, and salt. Gradually add the dry ingredients to butter mixture until completely mixed.
- Form dough into 2 balls, wrap in plastic wrap and flatten into a 2” thick disc.
- Refrigerate for 1-2 hours.
- Preheat oven to 400 Degrees
- On a lightly floured surface, using a silicone rolling pin, roll dough out to approximately ¼” thickness. Cut into desired shapes and evenly space on ungreased cookie sheets, leaving 1-2 inches between.
- Bake for 4-6 minutes in preheated oven. Allow to cool for 3-5 minutes then transfer
- to wire cooling rack to cool completely.
Royal Icing Recipe
Ingredients:
- 3 Tbs Meringue Powder
- 4 cups sifted powdered sugar
- 5 Tbs warm water +/- (plus additional water for thinning)
Directions
- Combine all ingredients in bowl of stand mixer, beat on low speed for 7-10 minutes or until icing begins to form stiff peaks.
- Divide your icing into appropriate portions to color for your project.
- Add a small amount of gel food coloring to create each color, stirring until coloring is completely blended.
- To create icing for flooding, place a small amount of colored icing into a bowl and begin adding water ½ tsp to a time until you reach the proper consistency. You want the icing to be thin enough to spread easily but not too watery. A good test is to drizzle a small amount off the end of your spoon and watch how long it takes for the drizzled icing to blend back into the bowl of icing. It should blend back in within approximately 10 seconds.
Leave a Reply