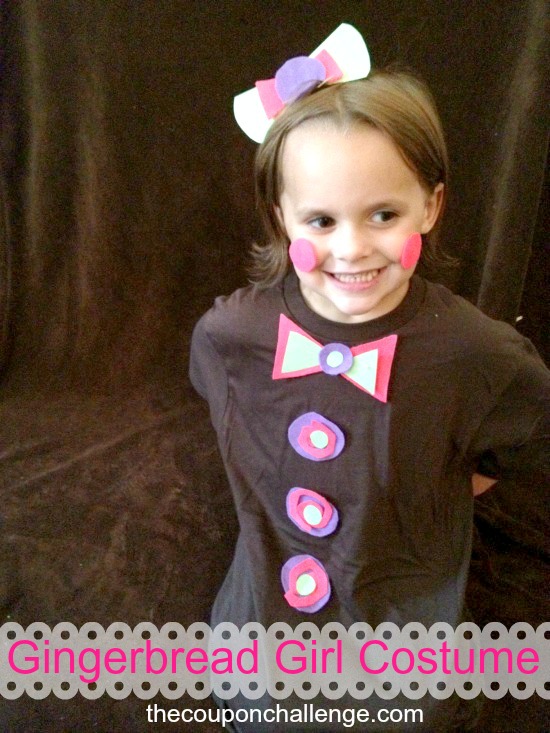
What could be sweeter than seeing your little gal dressed up as a gingerbread girl? With the holidays comes all things gingerbread, and below you will find no exception to this trend.
DIY Gingerbread Costumes can be a fun and frugal way to show your love for gingerbread, and we have the directions for how you can make your very own. Don’t worry about needing a great deal of supplies or time, you will find that it is actually quite easy. You don’t need to know how to sew a stitch even. Take a peek!
DIY Gingerbread Costumes
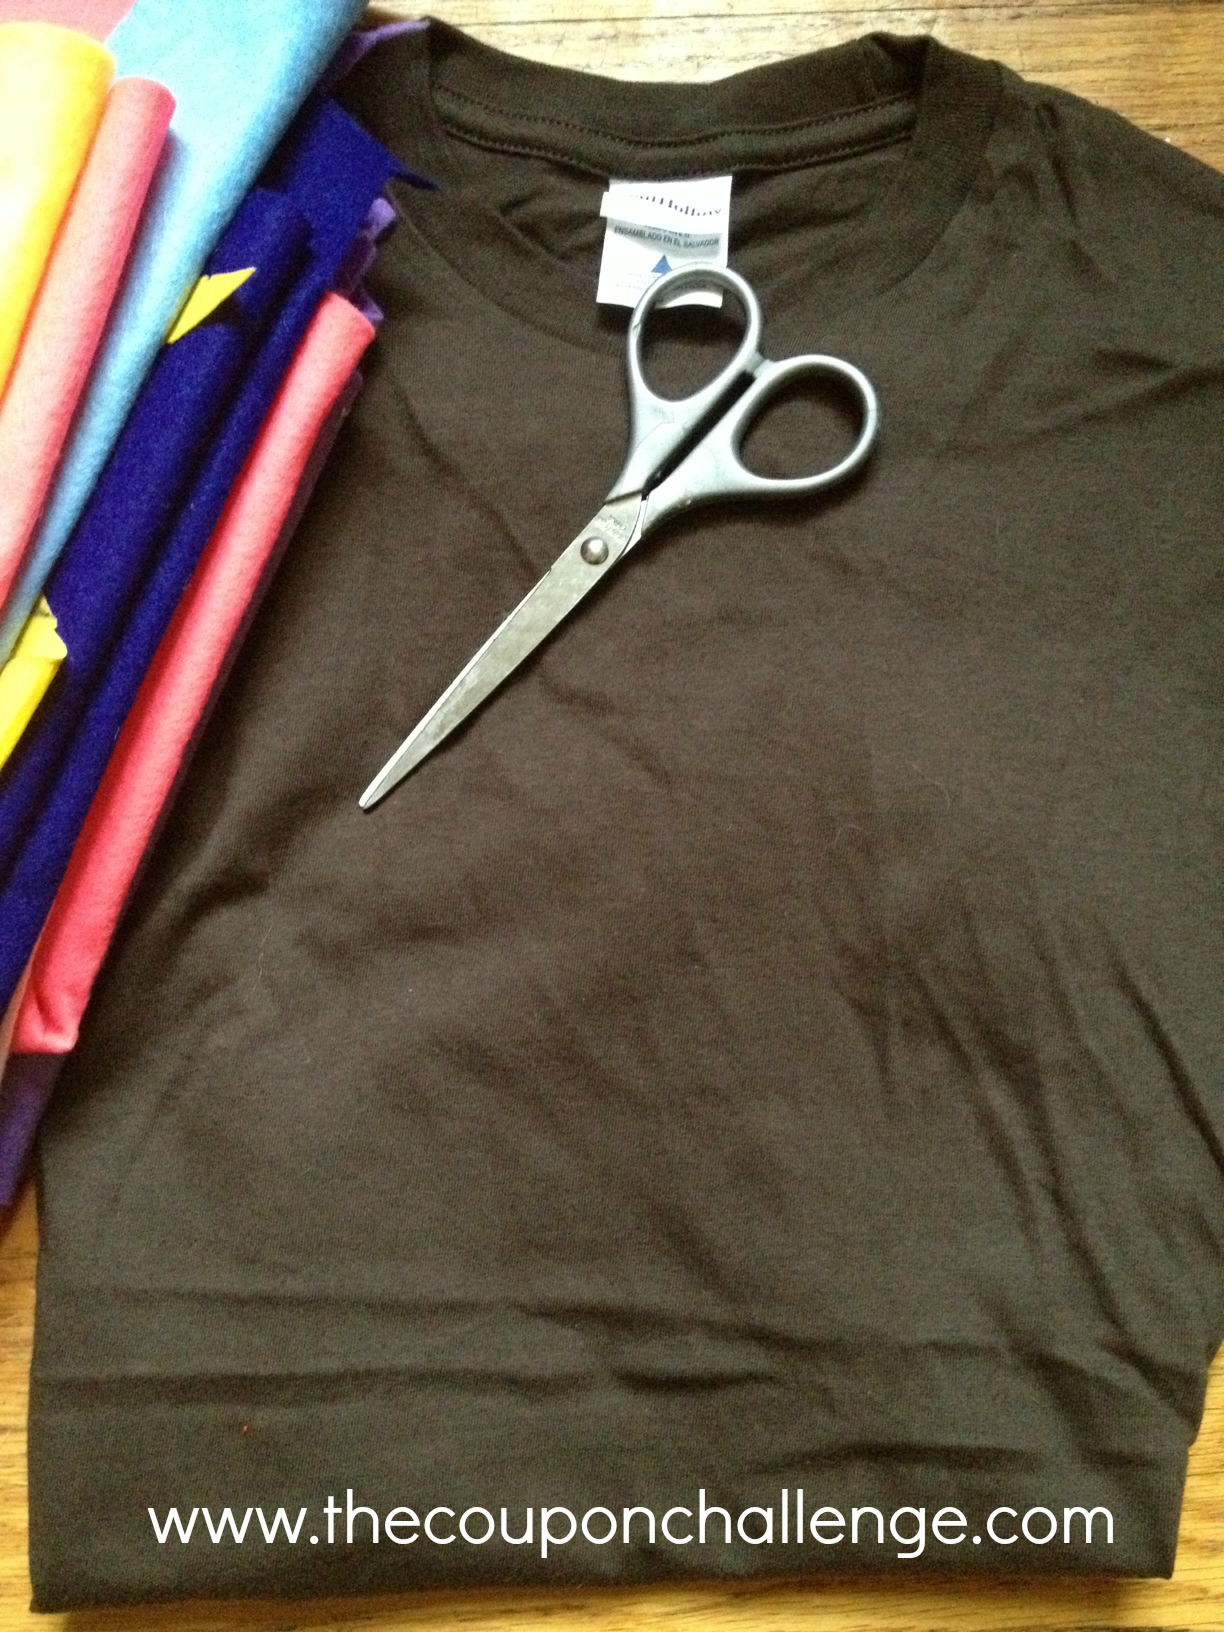
Supplies needed:
Assorted felt
Scissors
Hot glue, glue gun
Thin headband
Brown t-shirt
We were able to find all of the above items at our local Dollar Tree store. If yours does not carry the t-shirts, check your local craft or retail stores as plain colored t-shirts can usually be found for under $5. For our entire outfit, we spent right around $5, making this a frugal option if you are tight on funds but still wanting to get the look.
Directions:
1. Begin by cutting out an assortment of sweets and buttons from your felt. You can trace a pattern first if you wish or just freehand. Circles and swirls make great shapes, are easy to cut, and can be used in a variety of ways.
2. For our sample, we cut out three buttons, a bow tie, and side ruffles. We simply freehand cut these and layered various colors on top of each other to create a detailed effect.
3. Add a small dab of hot glue to the felt pieces and begin applying them to the shirt. You can do three buttons and a bow tie and ruffles as we did or feel free to get your own creative juices going and make designs that appeal to you.
4. For the headband, we simply made some bow shaped pieces and added a circle to the center. We glued the pieces together and then glued the bow to a simple, thin headband. It is a great way to add some extra detail to this costume.
5. Our model in the picture wore simple brown leggings under the t-shirt. You can do the same or even pair it with brown sweatpants to create the perfect gingerbread girl costume.
**This could easily be turned into a gingerbread boy costume by changing up the color pattern.
As you can see, a sweet costume like this can be fun and super frugal. Give this DIY project a try and see what gingerbread goodness you can come up with!
Feel free to share your Gingerbread Costumes pictures with us!
Keep up the gingerbread fun with more Gingerbread Activities!