{PIN IT}
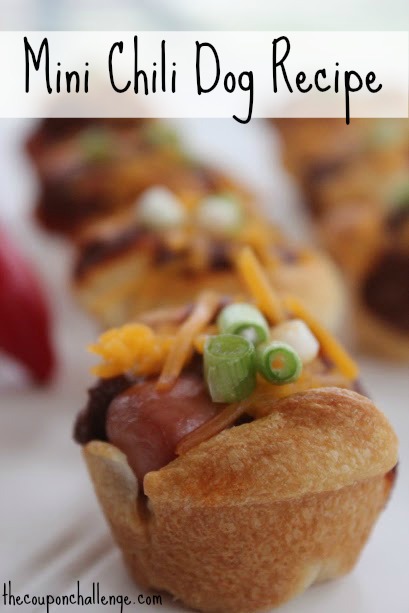
Need a fast, crowd pleasing appetizer for your next gathering or game day party? Try this Mini Chili Dog Recipe. It’s sure to be a hit!
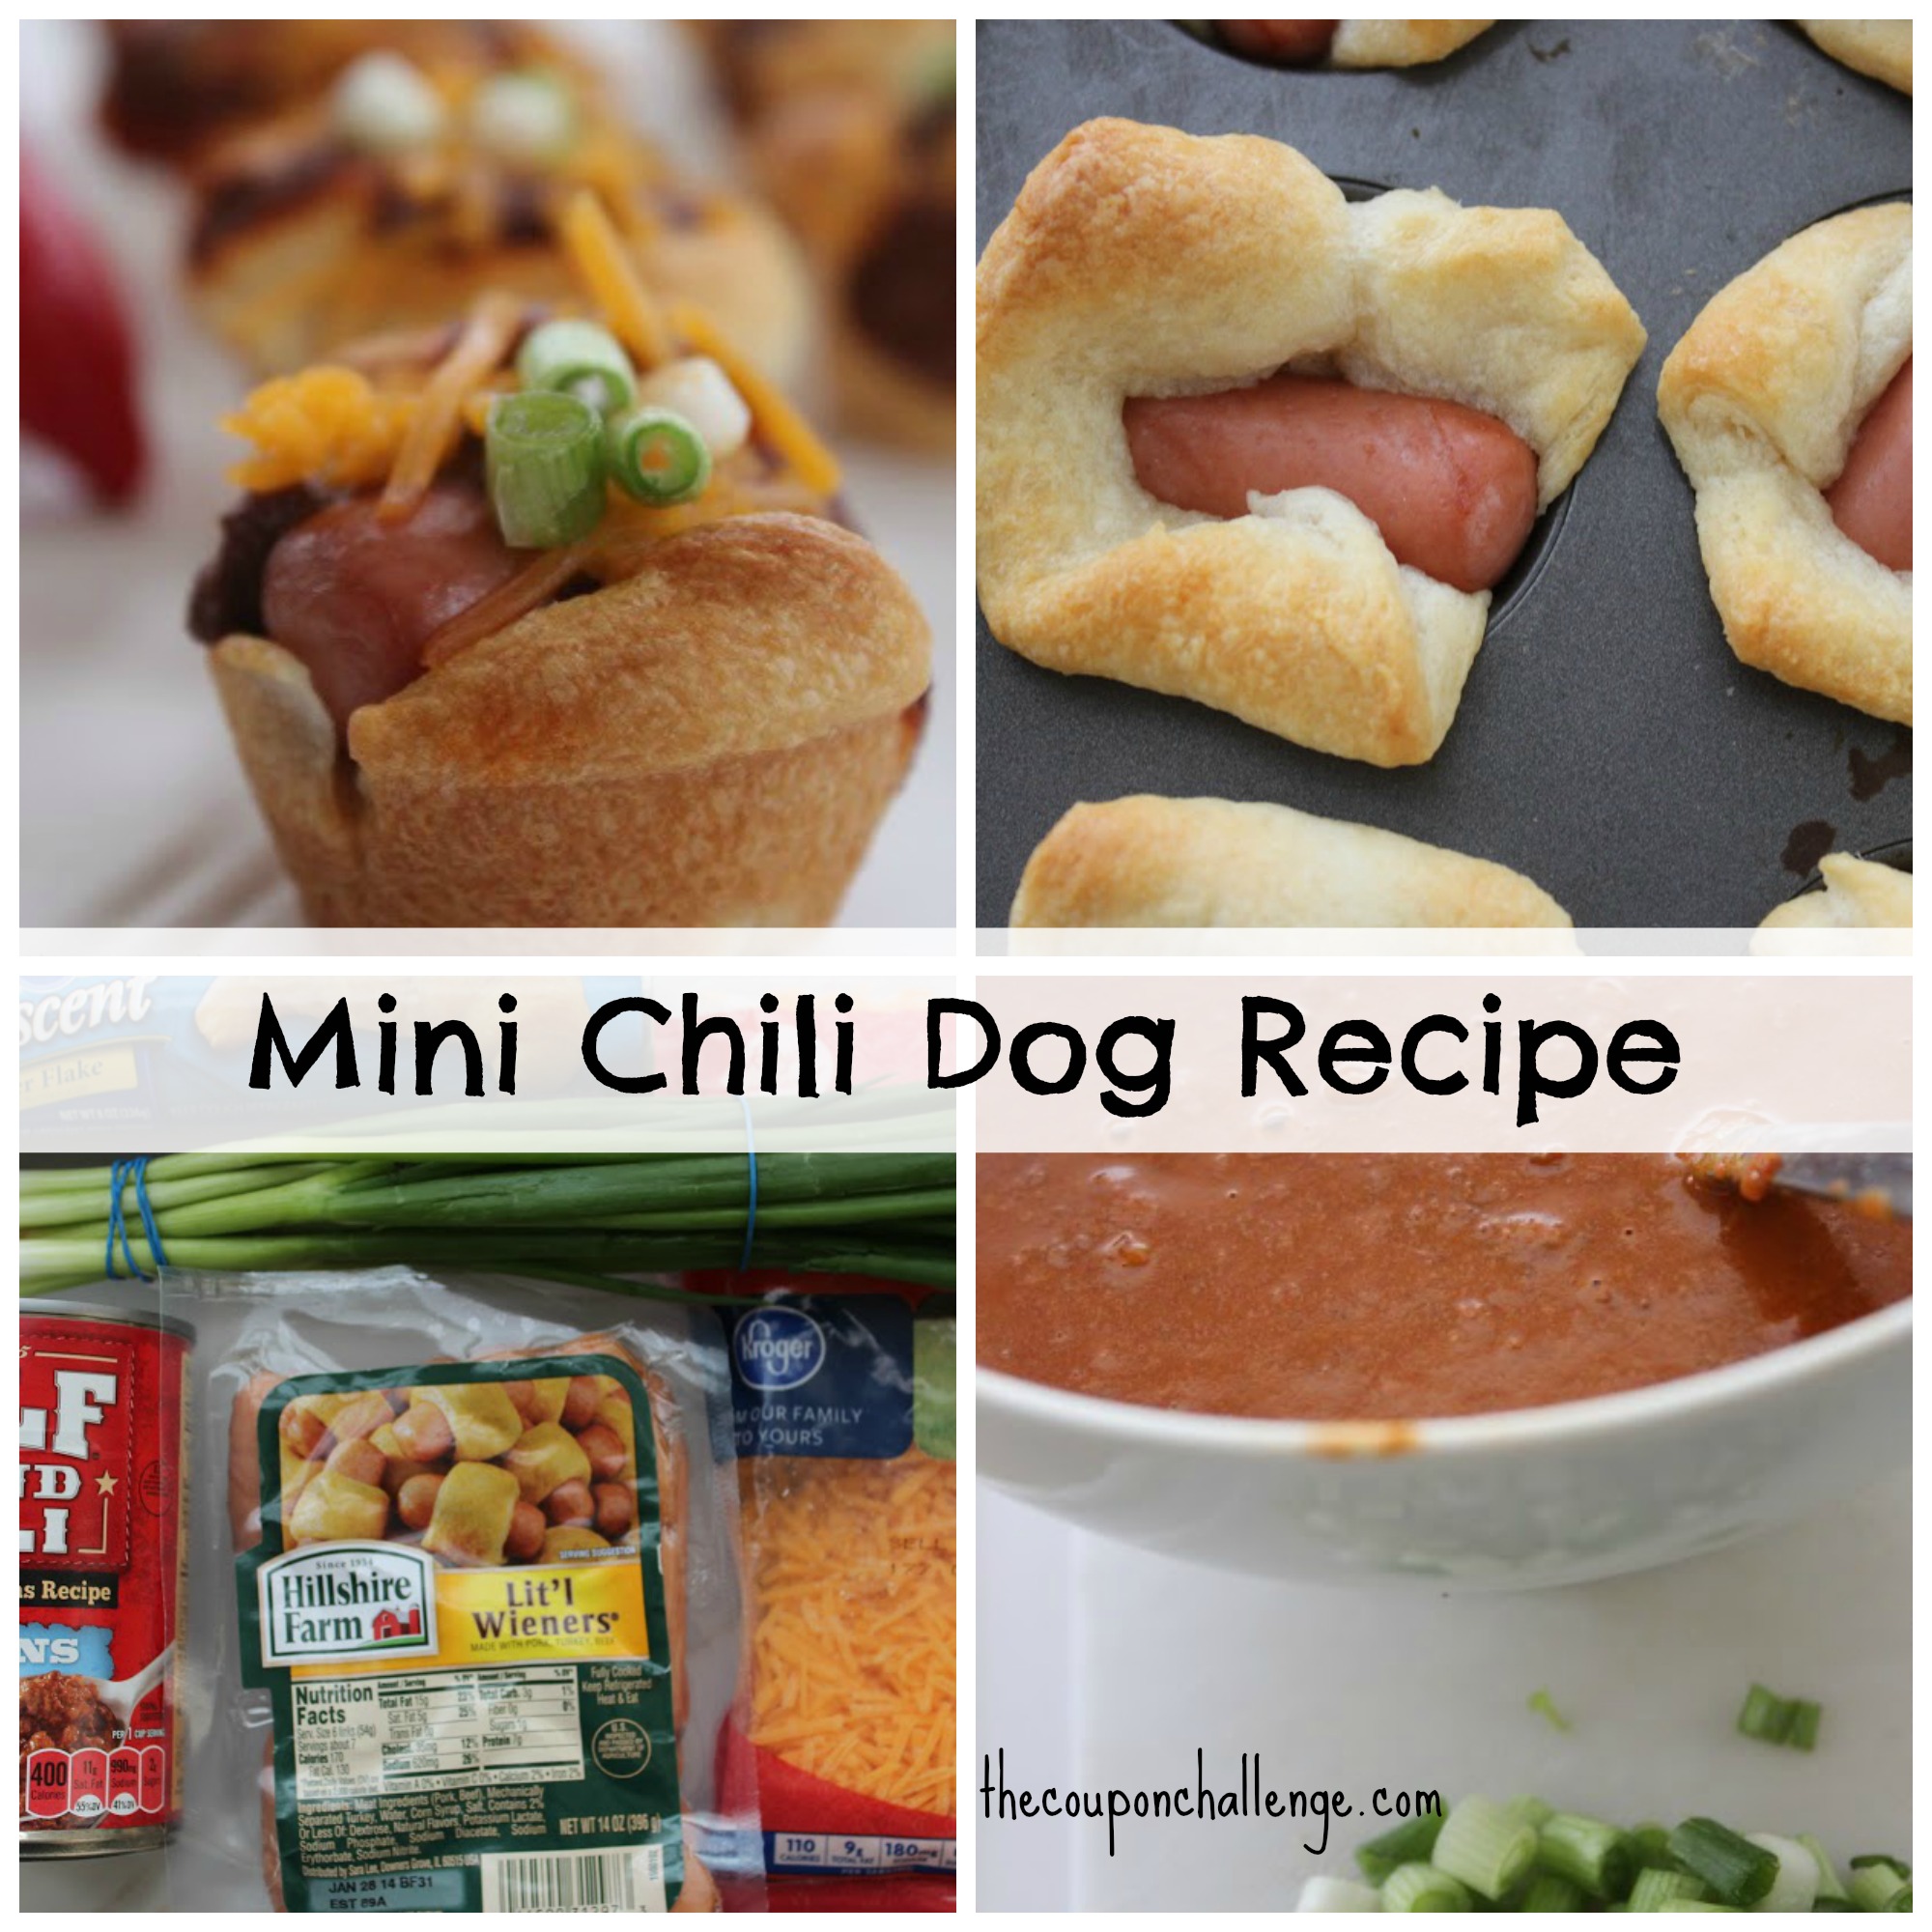
There are few ingredients in this chili dog recipe, so you won’t break the bank. You can also add additional toppings to suite your guests or substitute chopped red onion for green.
Mini Chili Dog Crescents Recipe
Ingredients
- 1 package Cocktail Wieners
- 1 can Crescent Rolls
- 1 can Chili (15 oz)
- 1 bunch diced Green Onions
- Shredded Cheddar Cheese
Instructions
- Preheat oven to 375.
- Unroll crescent dough.
- Cut each of the triangles in half and place into the cups of a mini muffin tin.
- Place a wiener in each.
- Back for 10 minutes.
- Heat chili according to can directions.
- Remove from oven and top each weiner with chili.
- Return to oven for 5 minutes.
- Place rolls on cooling rack.
- Top with shredded cheese and diced green onions.
You might also like this Fresh Salsa Recipe